Chef Infra Server
Overview
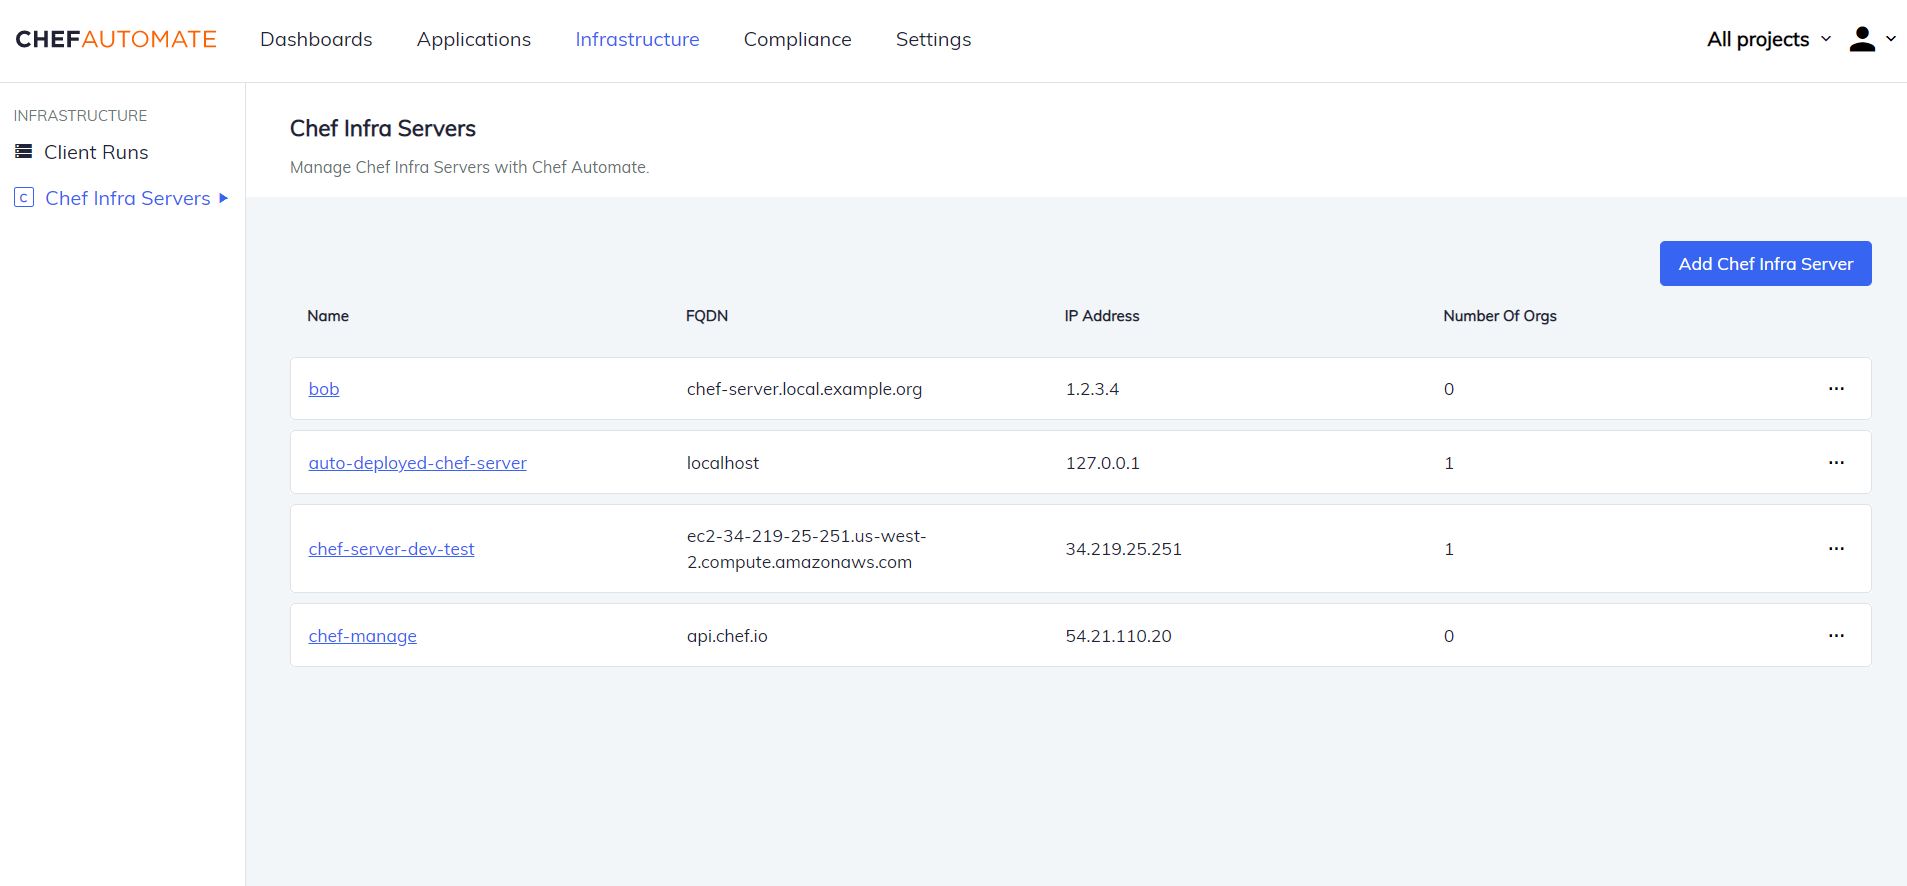
The Chef Infra Server page (Infrastructure > Chef Servers) lets you connect existing Chef Infra Servers to Chef Automate, view all of the connected Chef Infra Servers, and manage all of the objects on your connected Chef Infra Servers.
The Chef Infra Server acts as a hub for configuration data. The Chef Infra Server stores cookbooks, the policies that are applied to nodes, and metadata that describes each registered node that is being managed by Chef Infra Client.
Nodes use Chef Infra Client to ask the Chef Infra Server for configuration details, such as recipes, templates, and file distributions. Chef Infra Client then does as much of the configuration work as possible on the nodes themselves (and not on the Chef Infra Server).
This scalable approach distributes the configuration effort throughout the organization.
The objects that you can manage from the Chef Infra Server are:
- Cookbooks
- Roles
- Environments
- Data Bags
- Clients
- Nodes
- Policyfiles
Connect Chef Infra Servers to Chef Automate
The Chef Infra Server panel starts out with an empty list of servers.
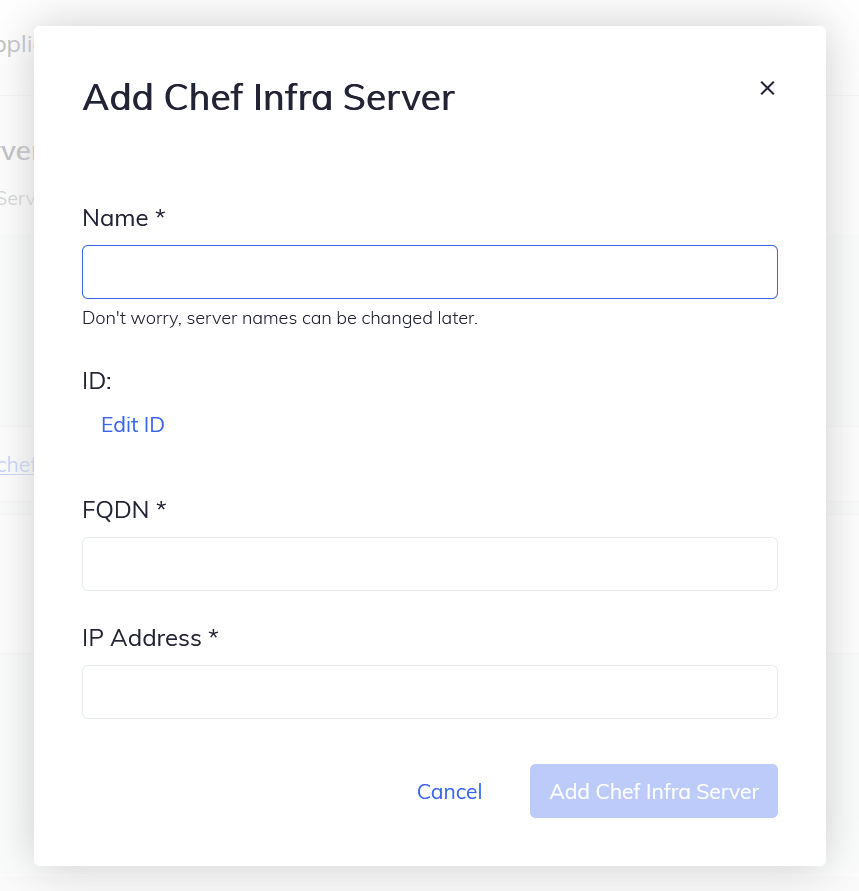
To add existing Chef Infra Servers to the Chef Automate infrastructure, select Add Chef Server which will request the name, FQDN, and IP address of your Chef Infra Server:
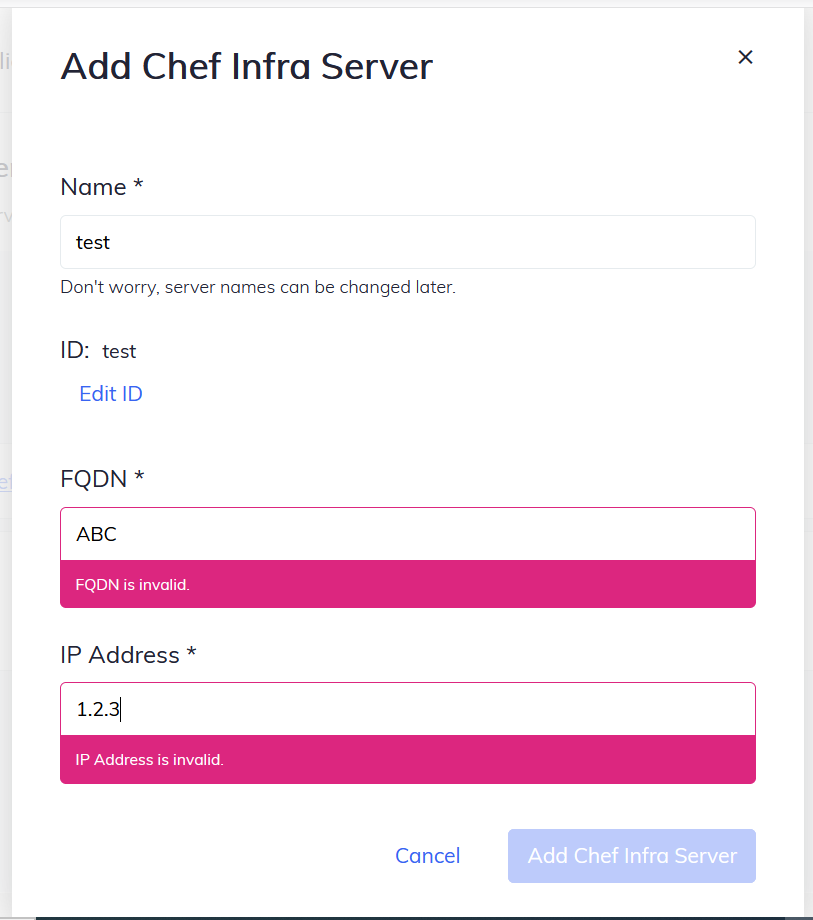
Chef Automate will warn you if you enter an invalid FQDN or IP address:
Once you are finished, select Add Chef Server and you will see your server in the list of Chef Infra Servers.
Connect a Chef Organization to a Chef Infra Server
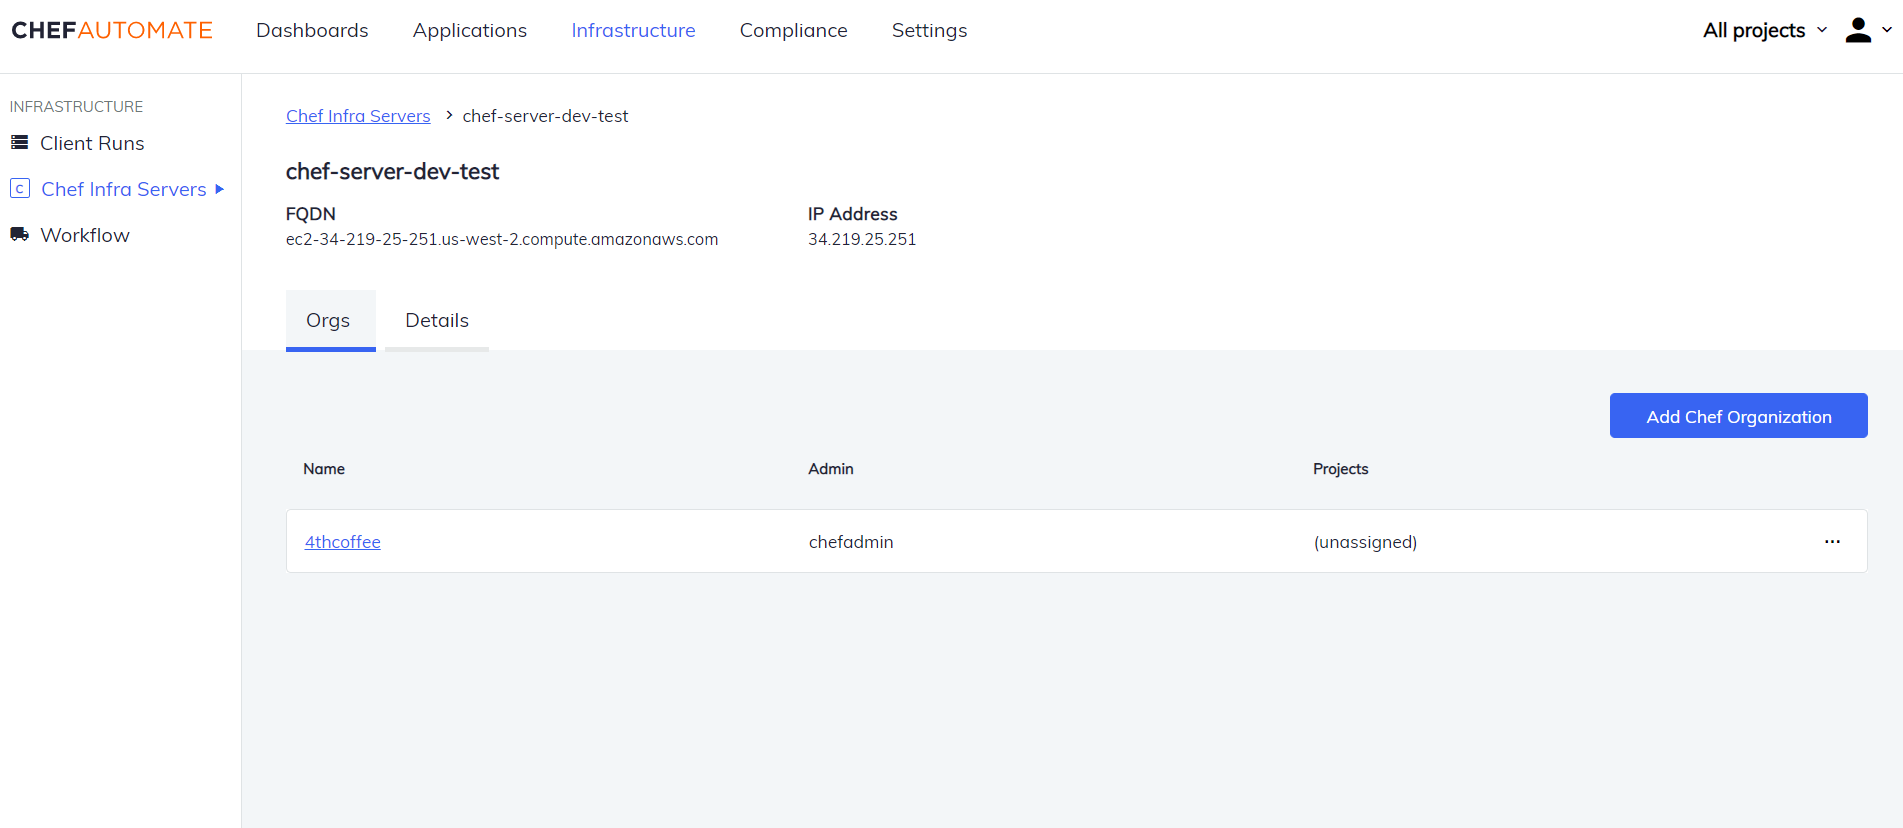
To view a list of existing organizations on a Chef Infra Server, select a Chef Infra Server from the Chef Servers list, then select the Organizations tab, as shown below:
To create a new organization, see the documentation on setting up a Chef Infra Server.
To add an existing organization, select Add Chef Organization, which opens a dialog box as shown below:
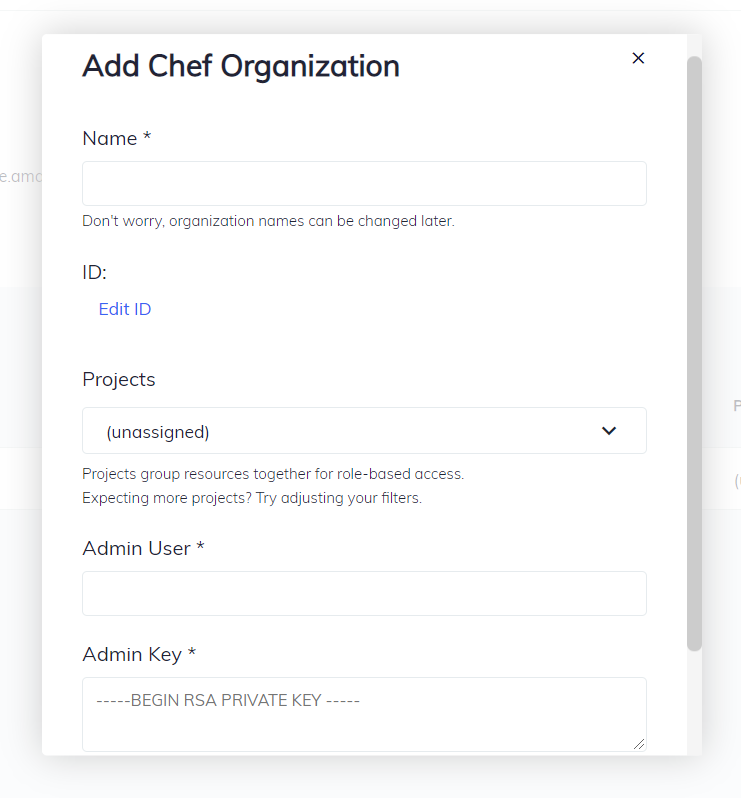
Enter the Name, Projects, Admin User, and Admin Key fields using the same values that were provided when the organization was configured using Knife.
Copy the contents of the ~/.chef/USER.pem file and paste it into the Admin Key field. Then select Add Chef Organization to add the organization to the Chef Infra Server.
Access Chef Infra Server Components
The following Chef Infra Server components for an organization can be managed using Chef Automate:
- Cookbooks
- Roles
- Environments
- Data Bags
- Clients
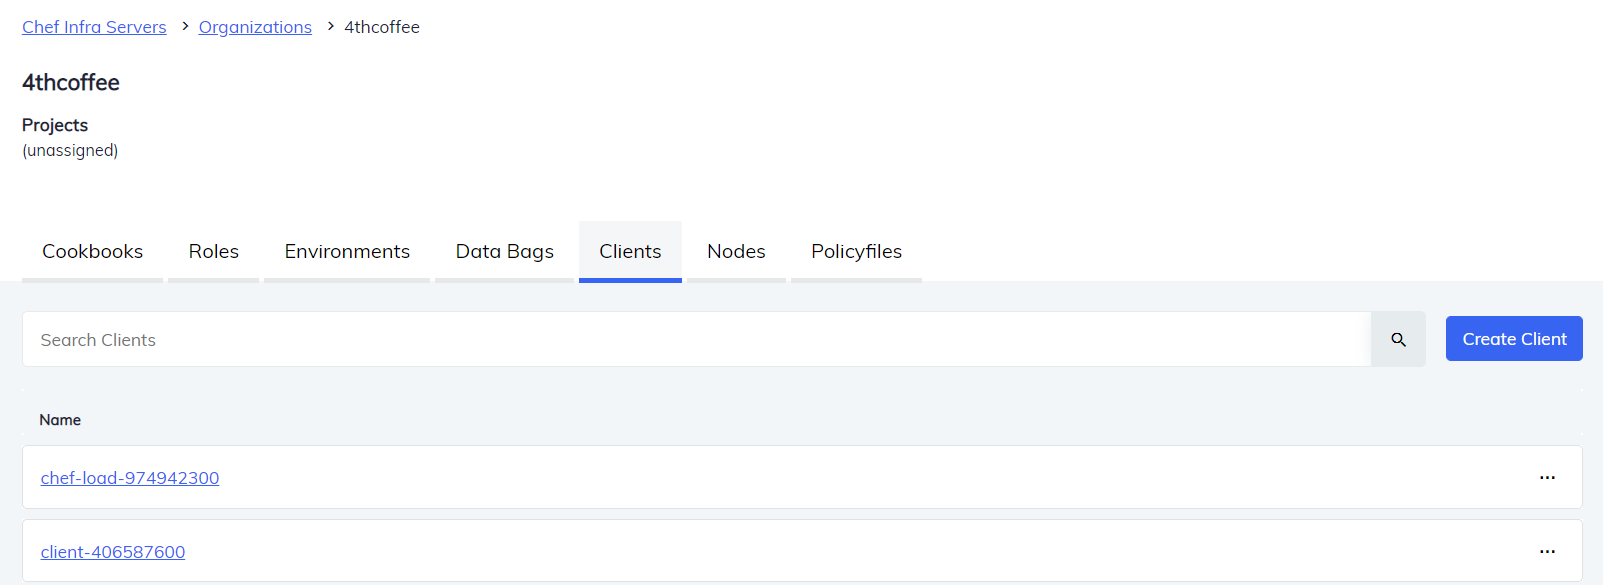
To access these components for an organization, select Chef Servers > Organizations and then select an organization. Refer to the image below:

Cookbooks
A cookbook is the fundamental unit of configuration and policy distribution. A cookbook contains recipes and other files, components, or directories.
The Chef Infra Server lets you view:
- List of cookbooks with their latest version
- Different versions of a cookbook
- Contents of a cookbook
- Details of a cookbook
List of Cookbooks
In Chef Infra Server, you can view all the cookbooks of an organization. The latest version of the cookbooks are mentioned in the list.

Select a cookbook from the list to view the details of that cookbook.
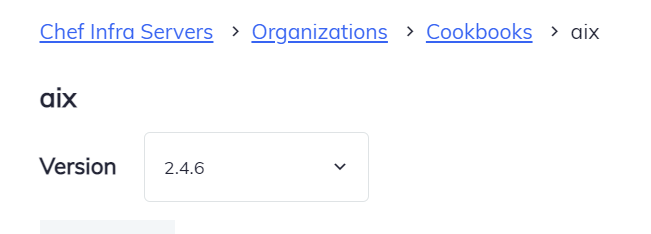
Different Versions of Cookbooks
To view different versions of a cookbook:
- Select a cookbook from the list.
- View the different versions of the cookbook using the dropdown list.
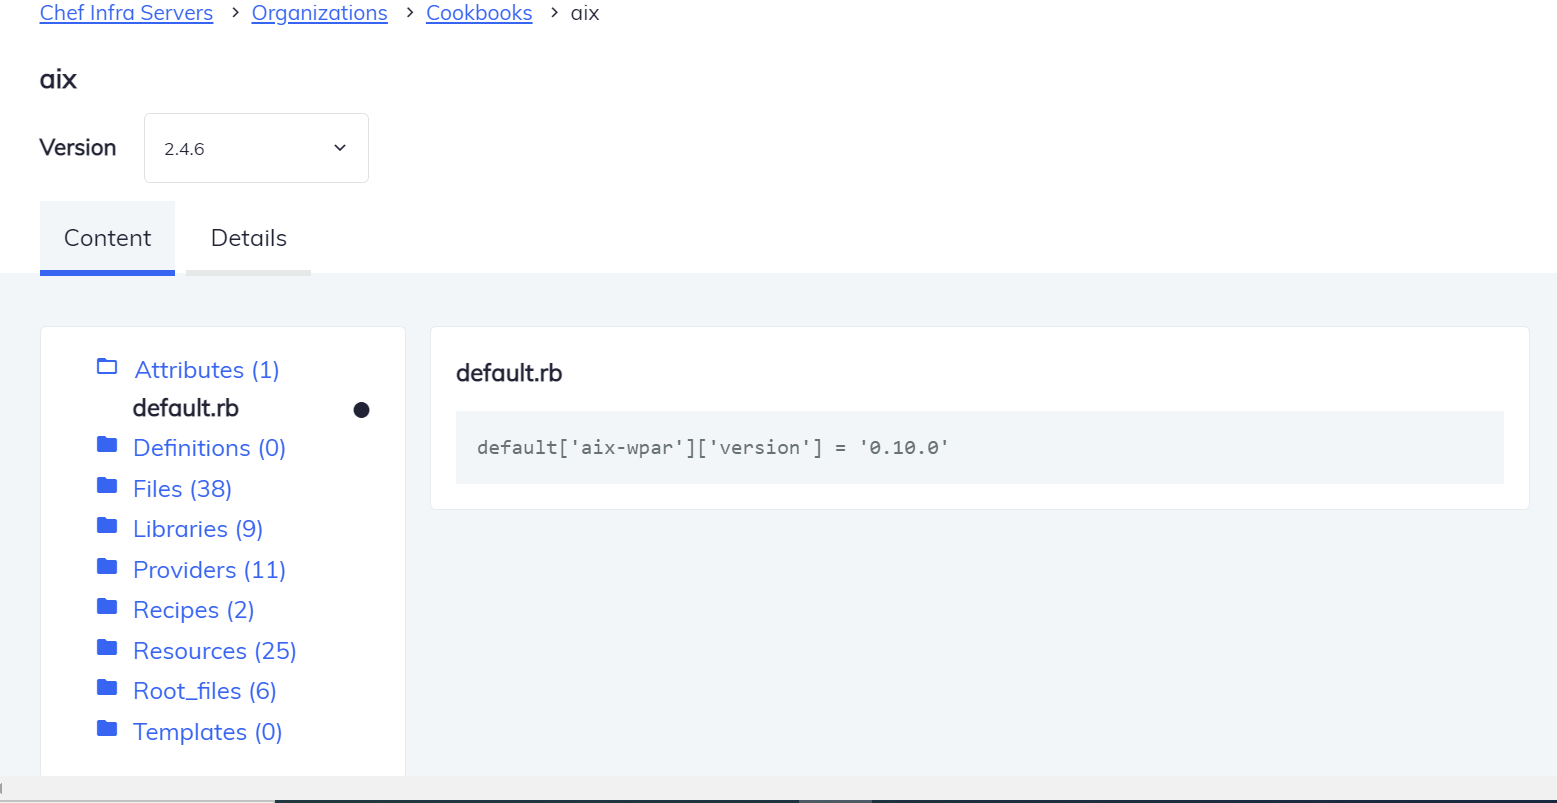
Cookbook Content
Select the Content tab to view the recipes and other components of a cookbook. This view also contains the files or directories of the components. To view the cookbook content, select the file from the component list.
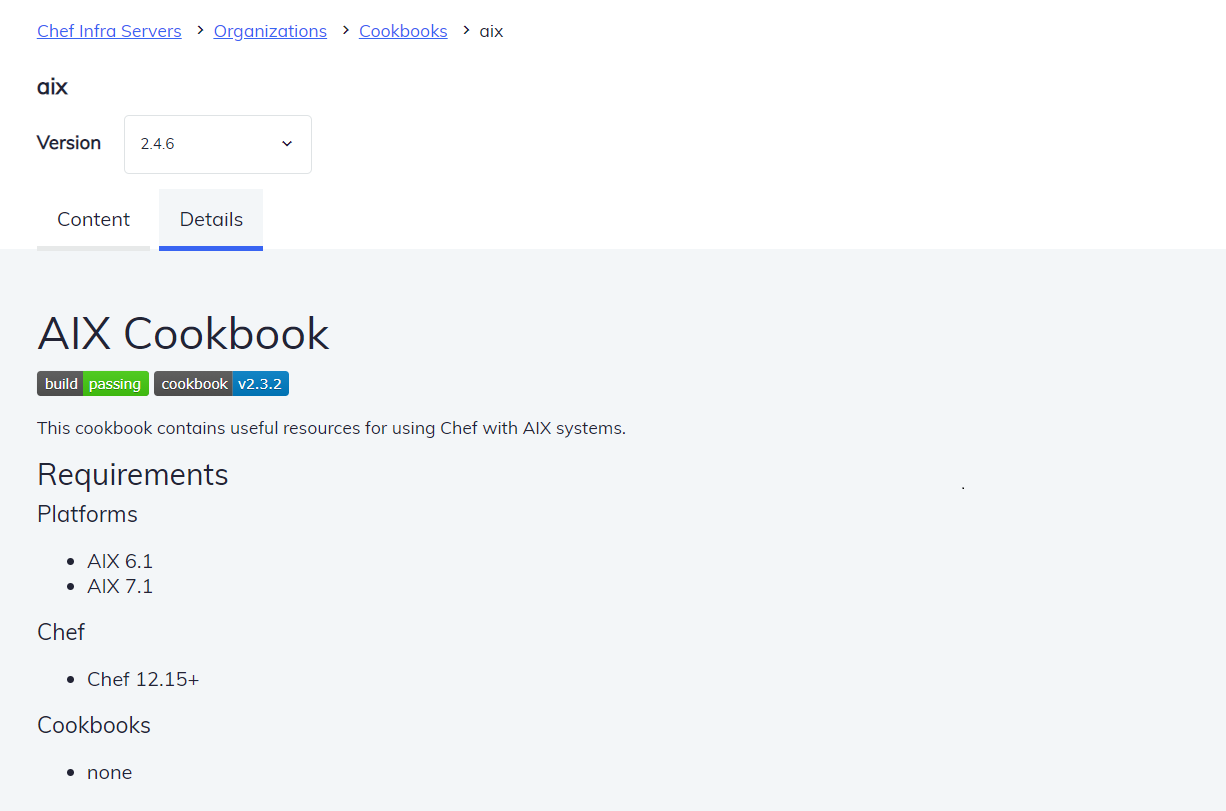
Details of a Cookbook
Select the Details tab to view the requirements, usage, resources, and license of a cookbook.
Roles
Roles let you define patterns and processes that exist across nodes in an organization as belonging to a single job function. Each role consists of zero (or more) attributes and a run-list.
The Chef Infra Server lets you:
- Create a role
- View all roles
- Search for a specific role
- View the details of roles:
- Run List
- Attributes
- Delete a role
Create a Role
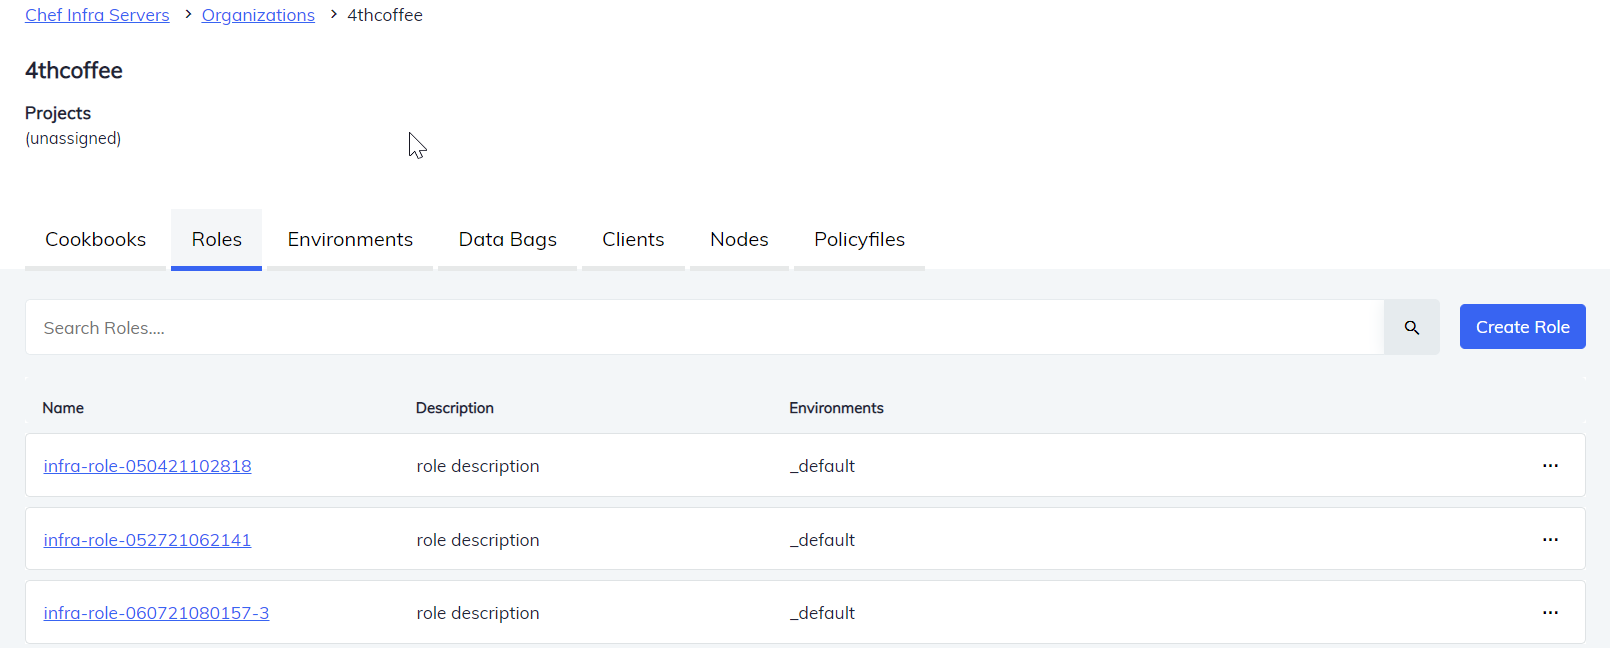
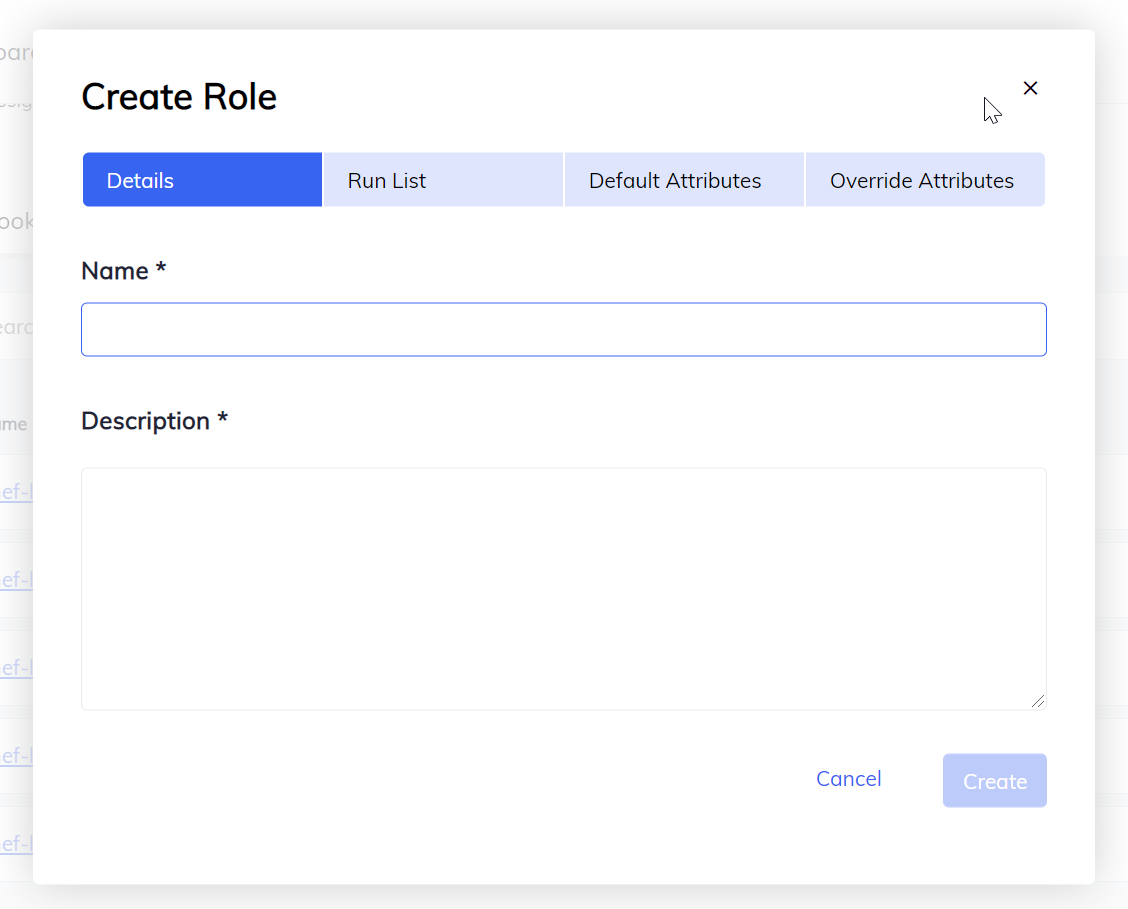
To create a new role, select Create Role:
Selecting the Create Role button opens a dialog box. The dialog box contains four different sections: Details, Run List, Default Attributes and Override Attributes. Enter the details in the possible sections and select Create to create a new role.
Search for a Role
Use the Search Roles bar to find the existing role from the list of roles. Entering the name of a role in the search box returns roles matching your search criteria.
View Role Details
Select a specific role to view the details of that particular role. Its contains two tabs, Details and Attributes.
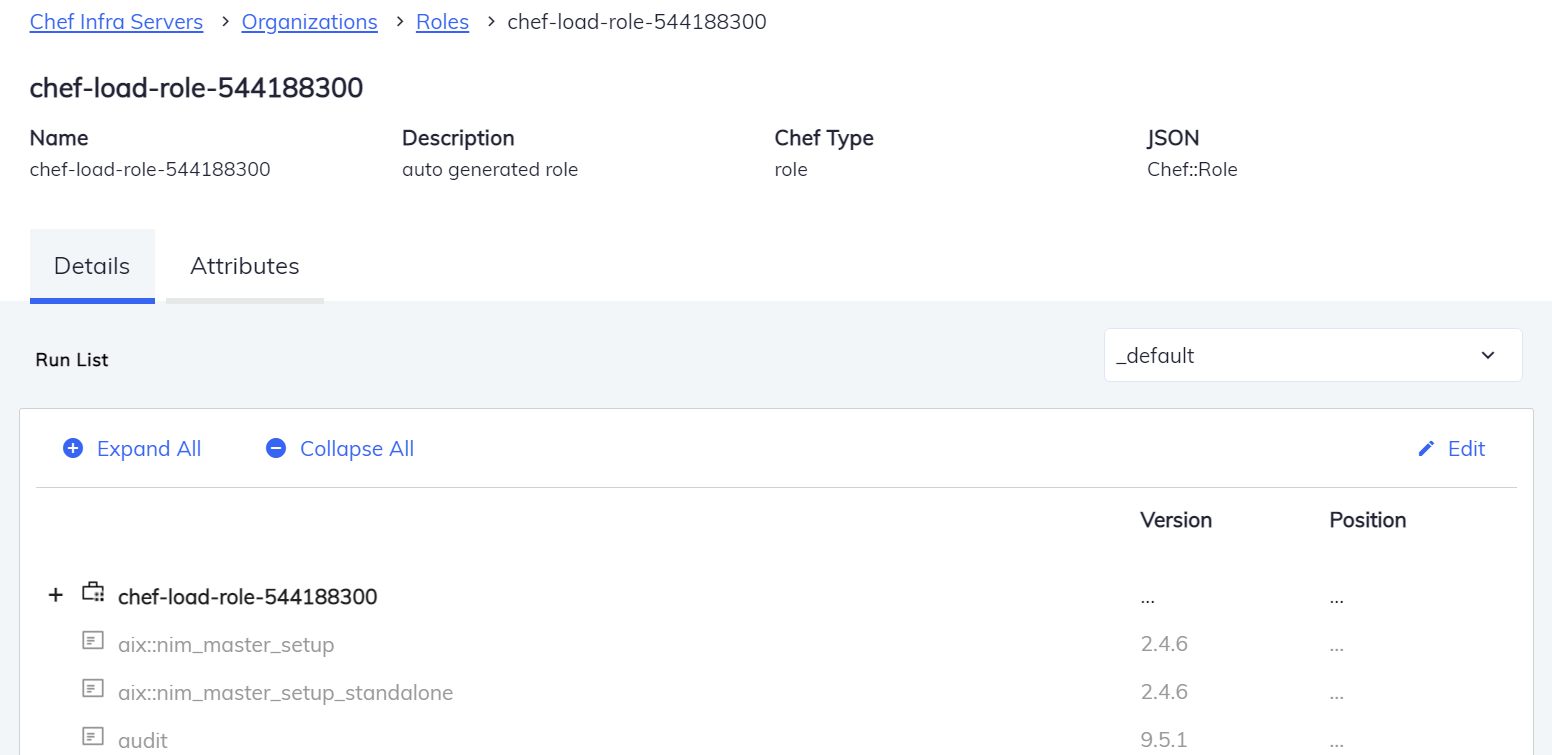
The Details contains the Run List, whereas the attributes tab displays the default and the override attributes of the role.
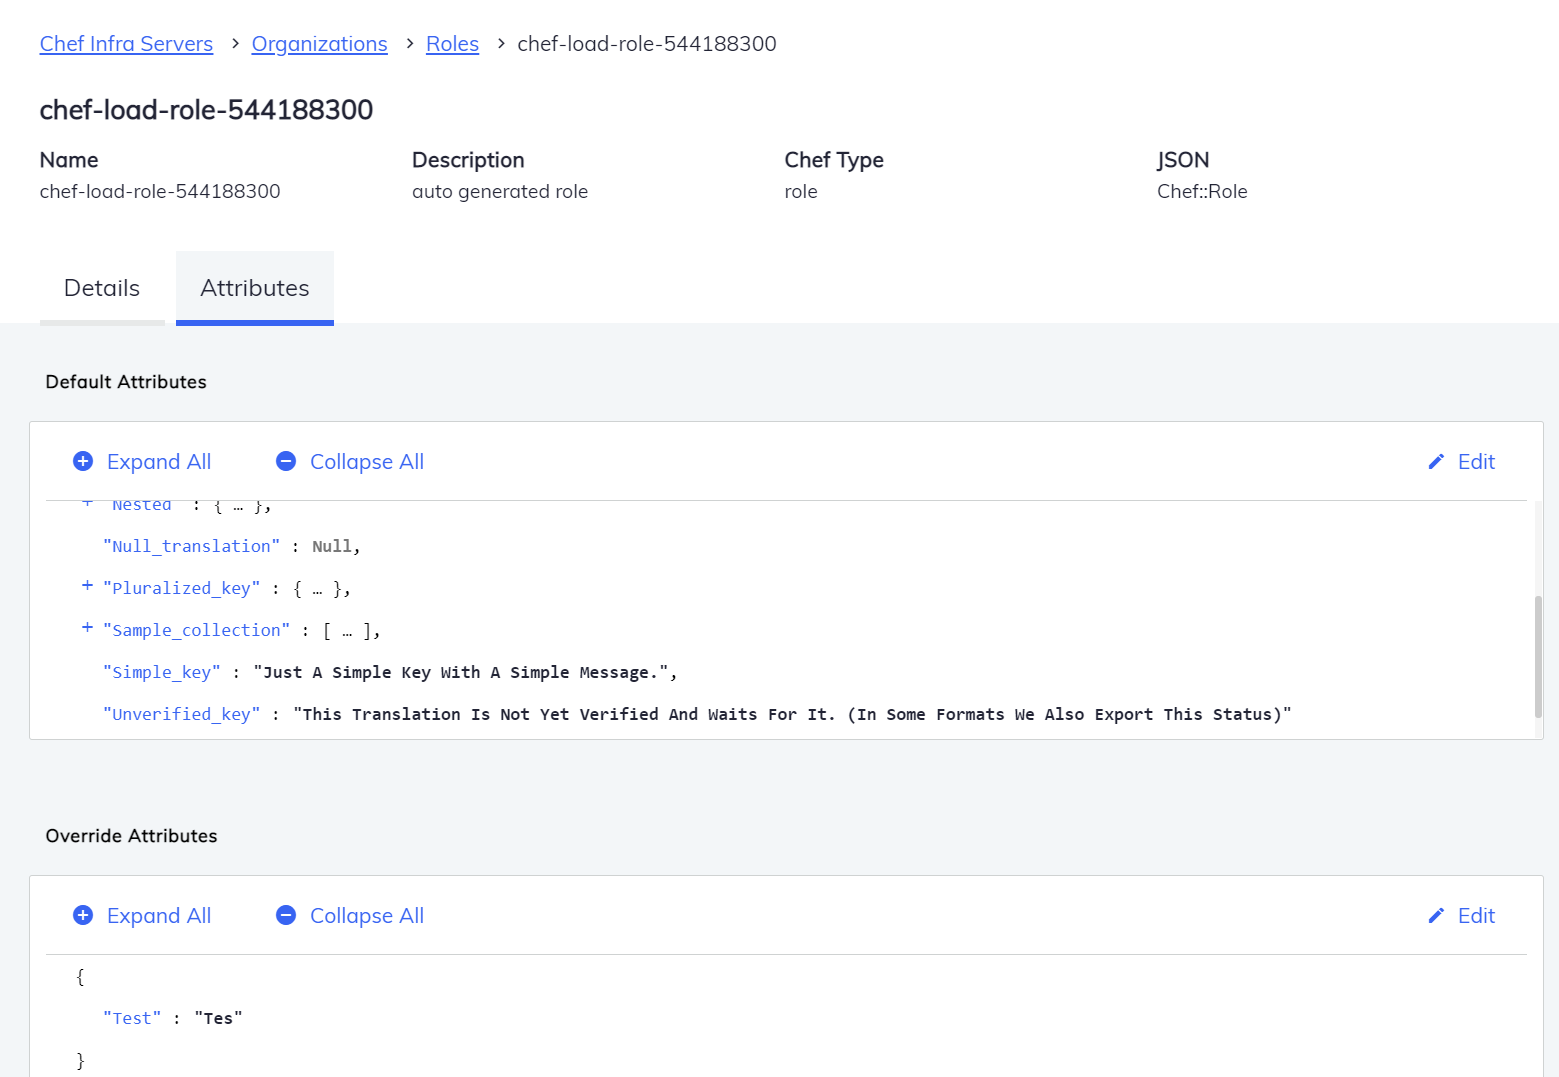
You can edit the default and override attributes by selecting the Edit option. It opens a popup window where you can make the changes and click Save.
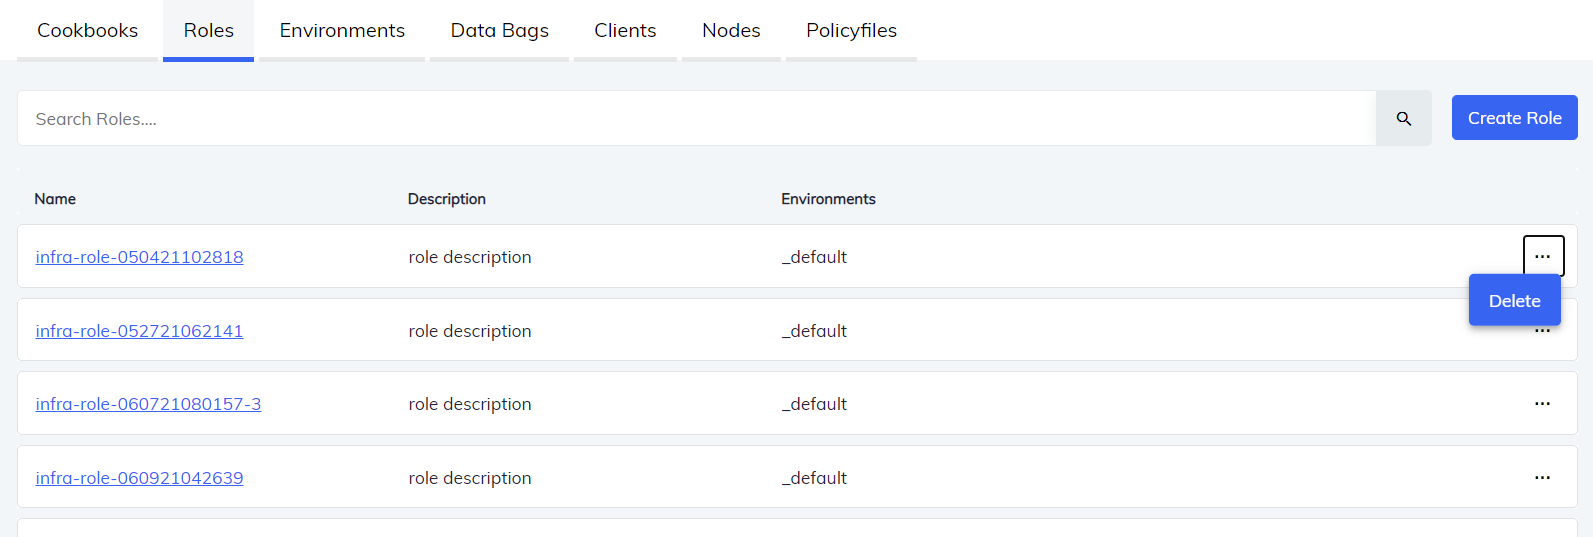
Delete a Role
Chef Infra Server lets you delete the existing roles one at a time. To delete a role, select the ellipses icon and then Delete, as illustrated below:
Environments
An environment can be used to map an organization’s real-life workflow to what can be configured and managed when using Chef Infra. This mapping is accomplished by setting attributes and pinning cookbooks at the environment level.
The Chef Infra Server UI lets you:
- Create an environment
- View all environments
- Search for a specific environment
- View the details of an environment
- Edit an environment
- Delete an environment
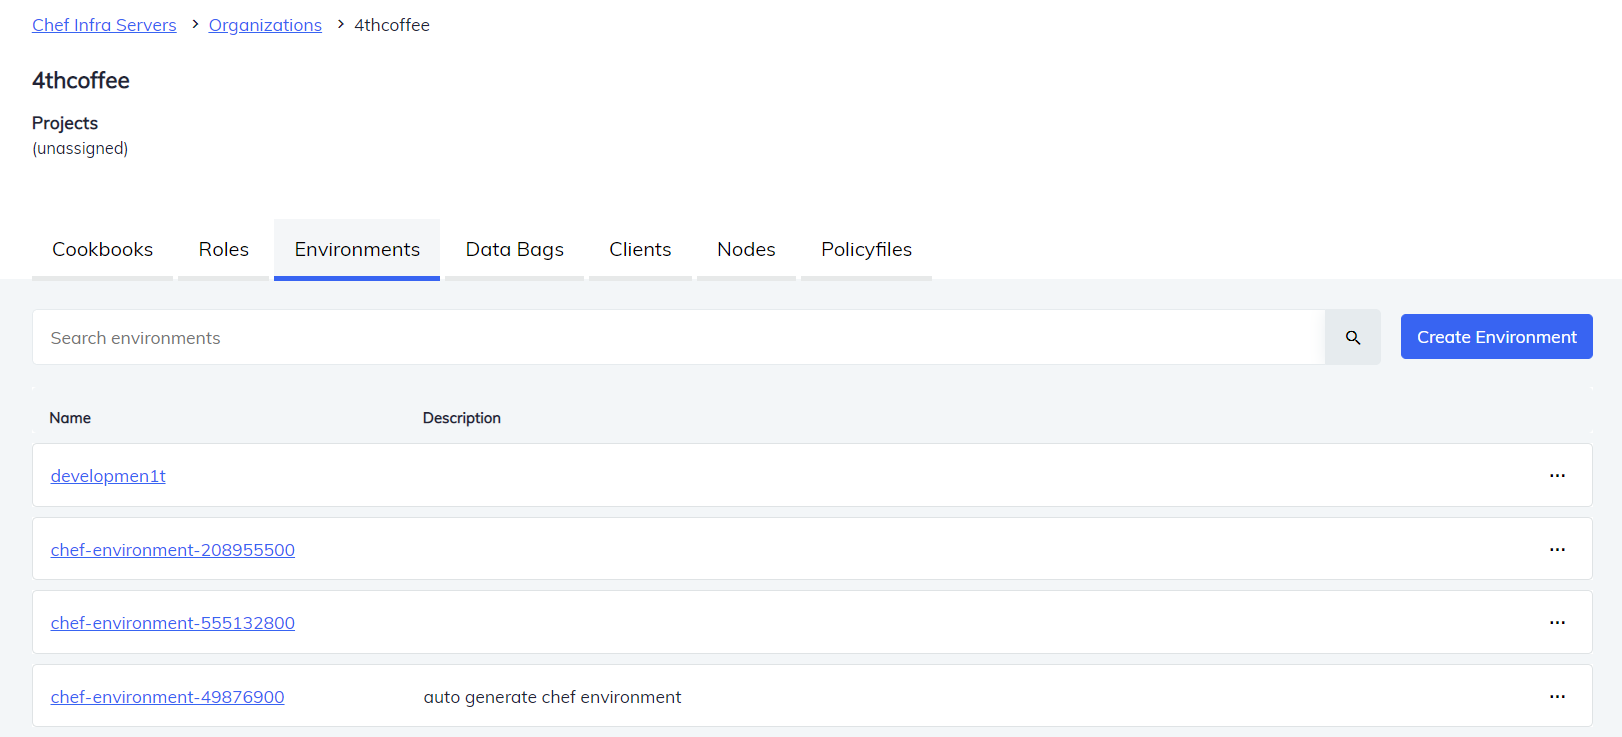
Create an Environment
To create a new Environment, select Create Environment, as shown below:
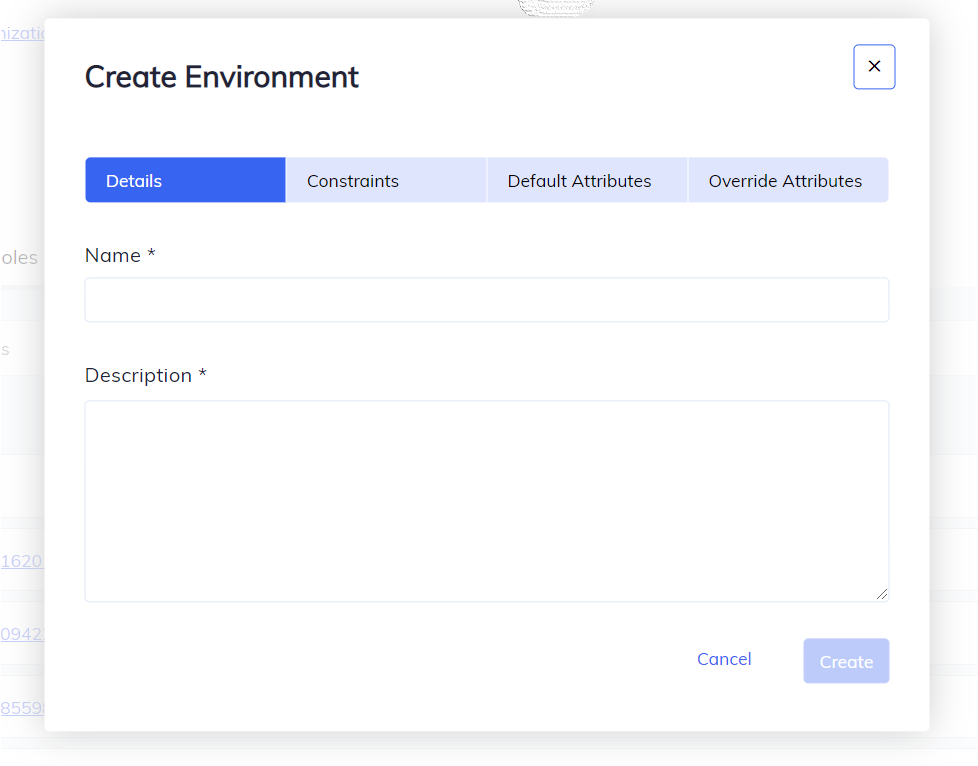
Selecting the Create Environment button opens a dialog box. The dialog box contains four different sections: Details, Constraints, Default Attributes and Override Attributes. Enter the details in the possible sections and select Create to create a new environment.
Search for an Environment
Use the Search environments bar to find an existing environment from the list of environments. Entering the name of an environment in the search box returns environments matching your search criteria.
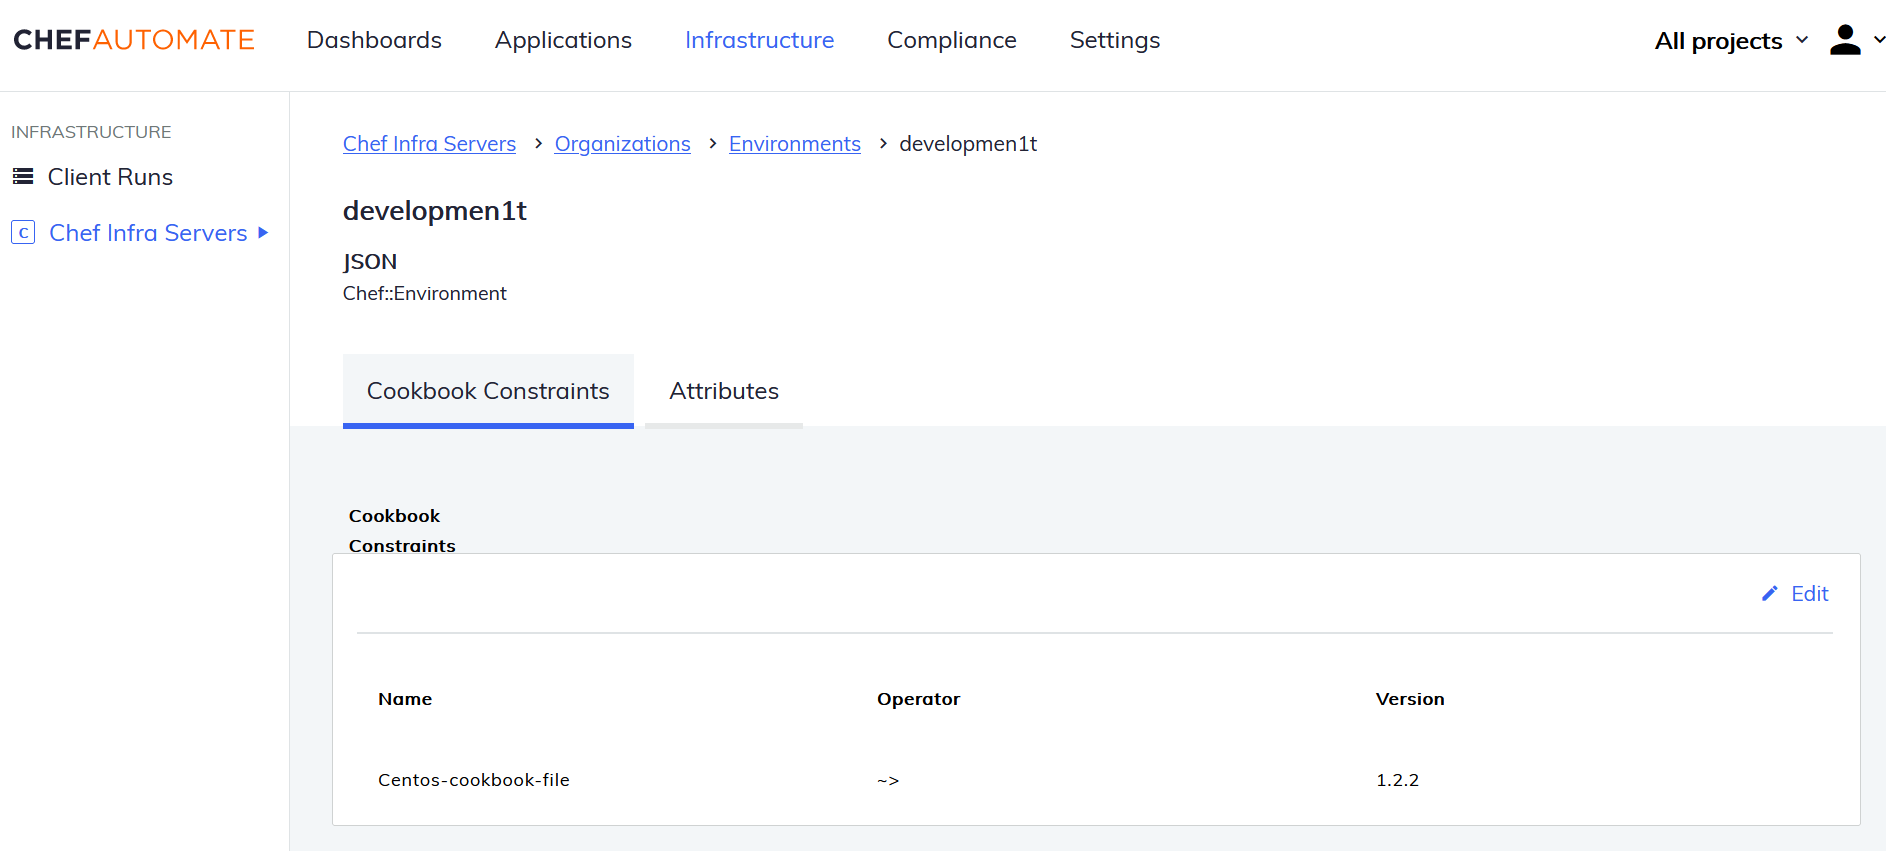
Details of an Environment
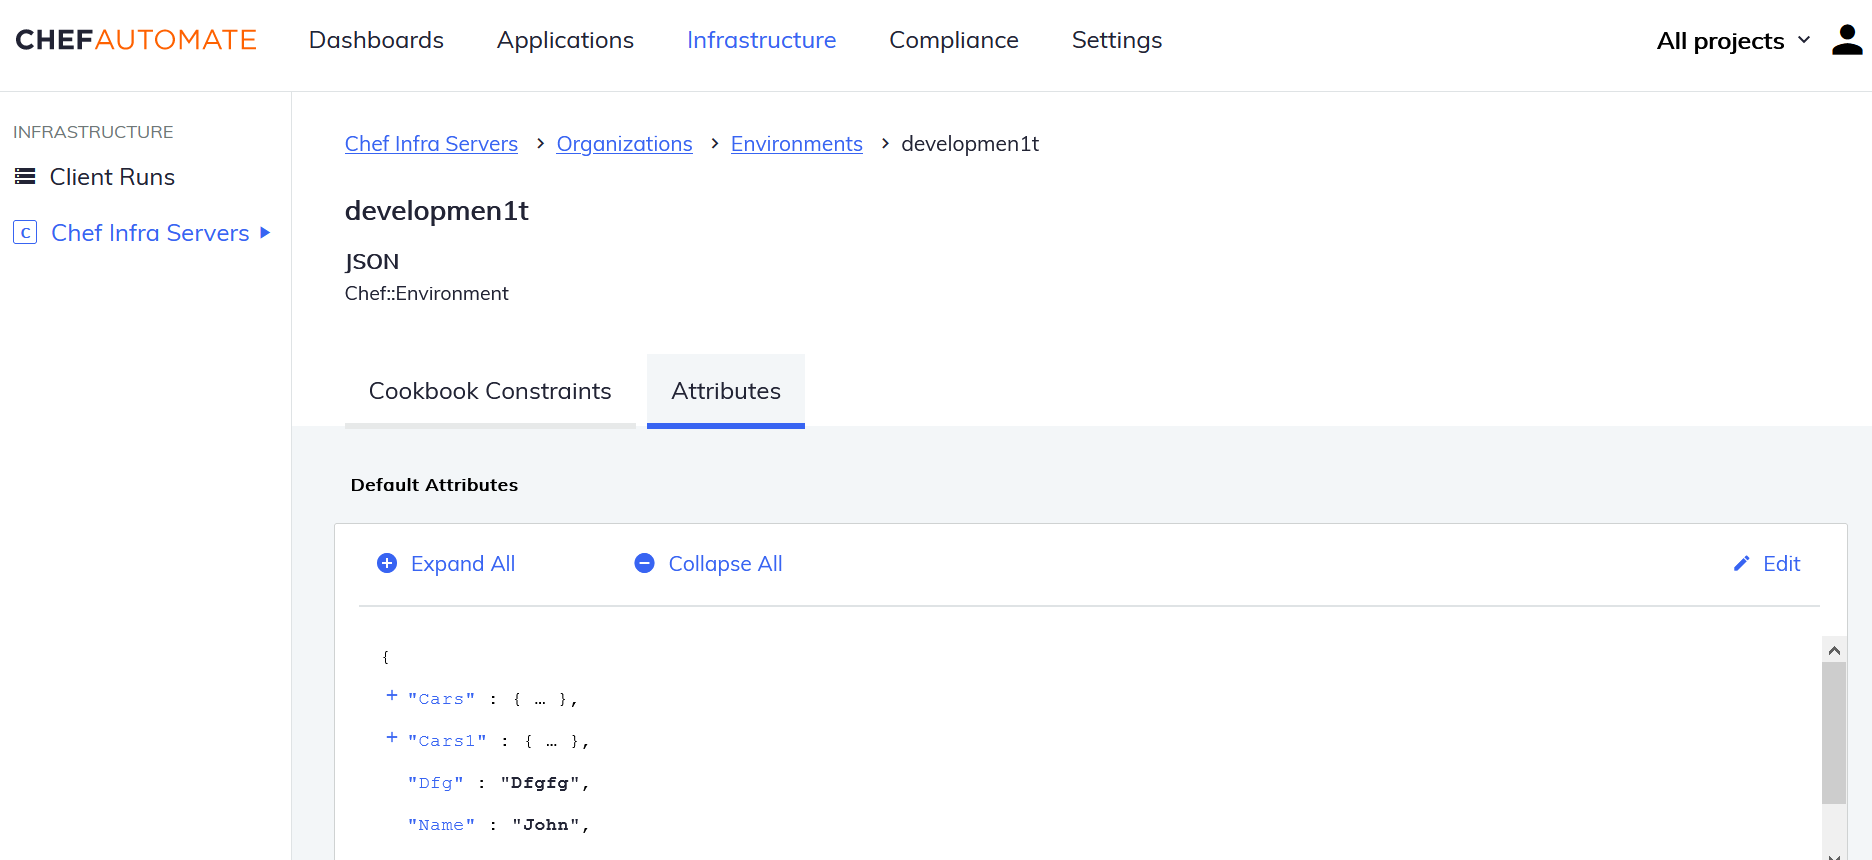
Select a specific environment to view that environment’s cookbook constraints and attributes.
Cookbook Constraints
The selected bar contains the list of all the cookbook constraints with Name, their Operator, and Version respectively. Select Edit to change the Cookbook Constraints.
Attributes
The attributes window shows all the default and overridden attributes. Select Expand All or Collapse All to view or hide the attributes. Select Edit to change the Default Attributes and Override Attributes.
Note
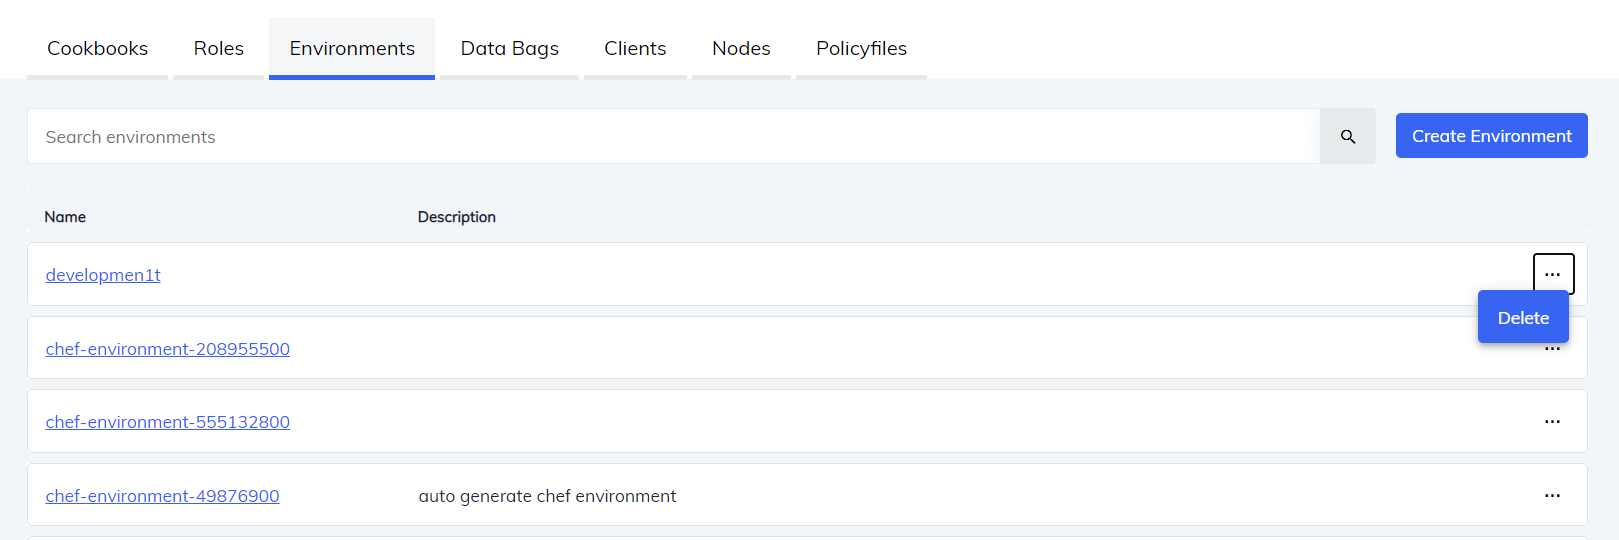
Delete an Environment
The Chef Infra Server lets you delete environments one at a time. Select Delete from the more information (three dots) icon on the far right side of the environment that you want to delete, as shown below:
Data Bags
Data bags store global variables as JSON data. Data bags are indexed for searching and can be loaded by a cookbook or accessed during a search.
Chef Infra Server UI lets you:
- Create a data bag
- View all data bags
- Search for a specific data bag item
- Create a data bag item
- Edit a data bag item
- Delete a data bag item
- Delete a data bag
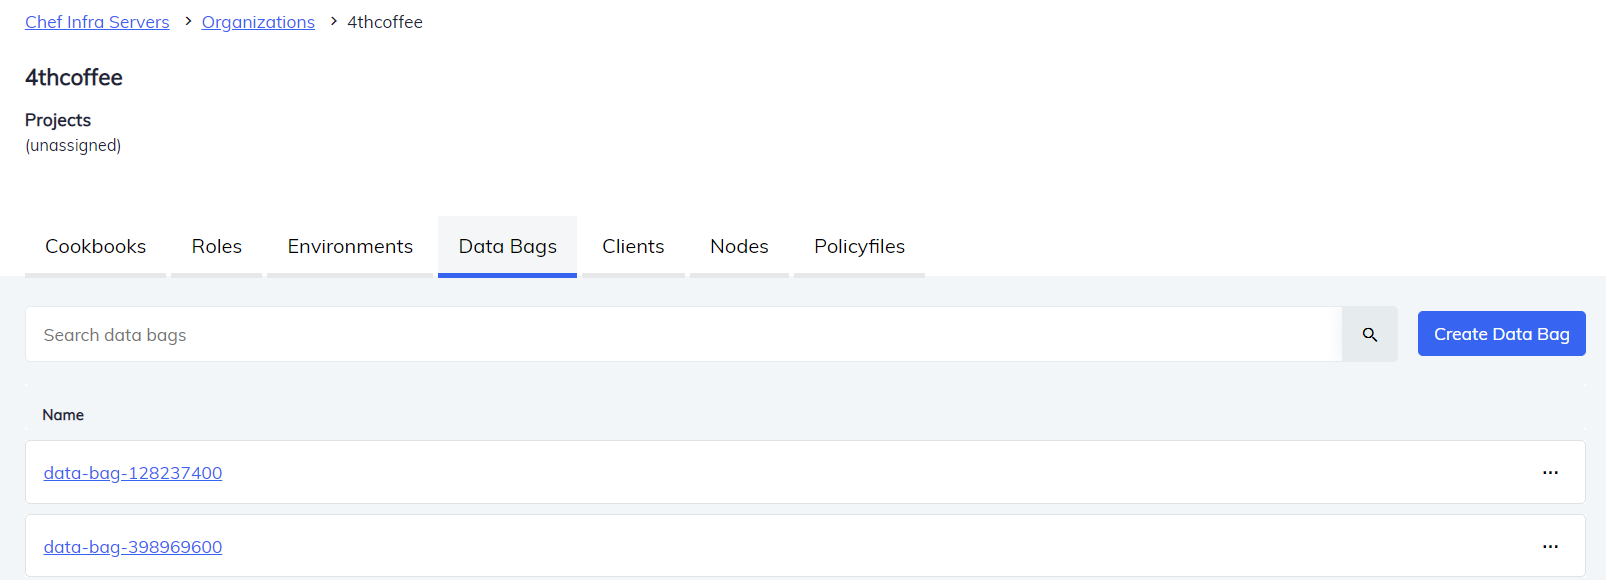
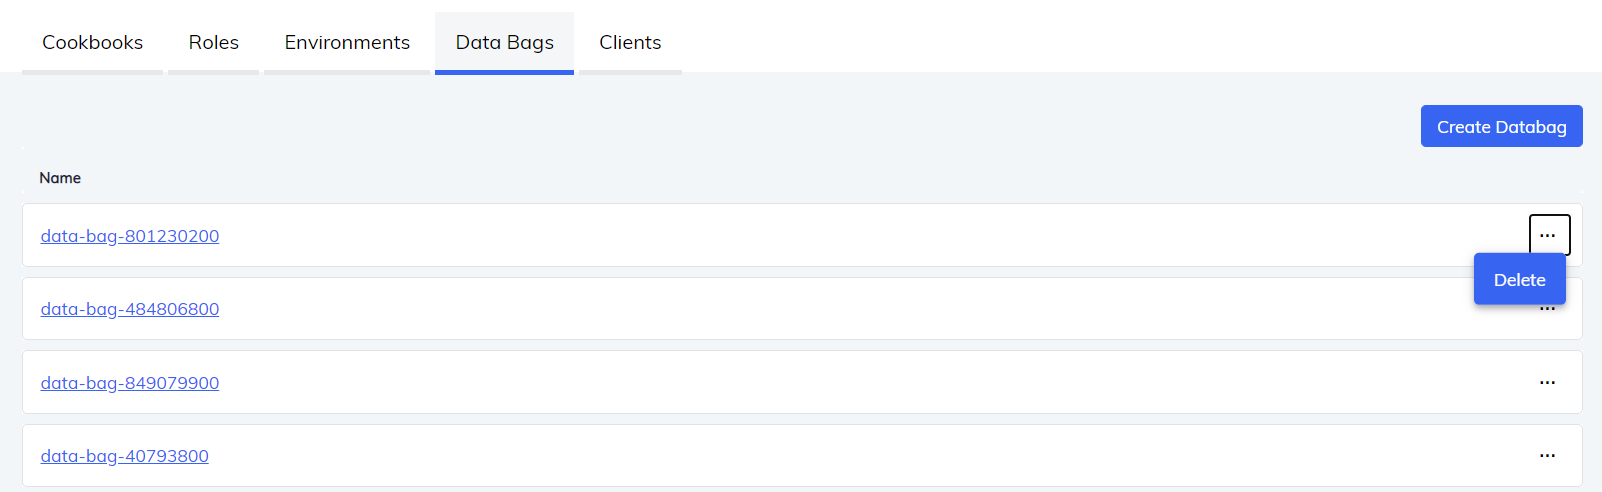
Create a Data Bag
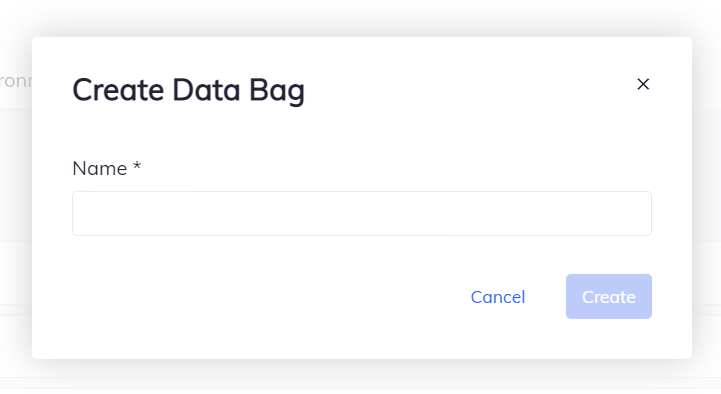
To create a new data bag, select Create Data Bag, as shown below:
Selecting the Create Data Bag button opens a dialog box. Enter the name and select Create.
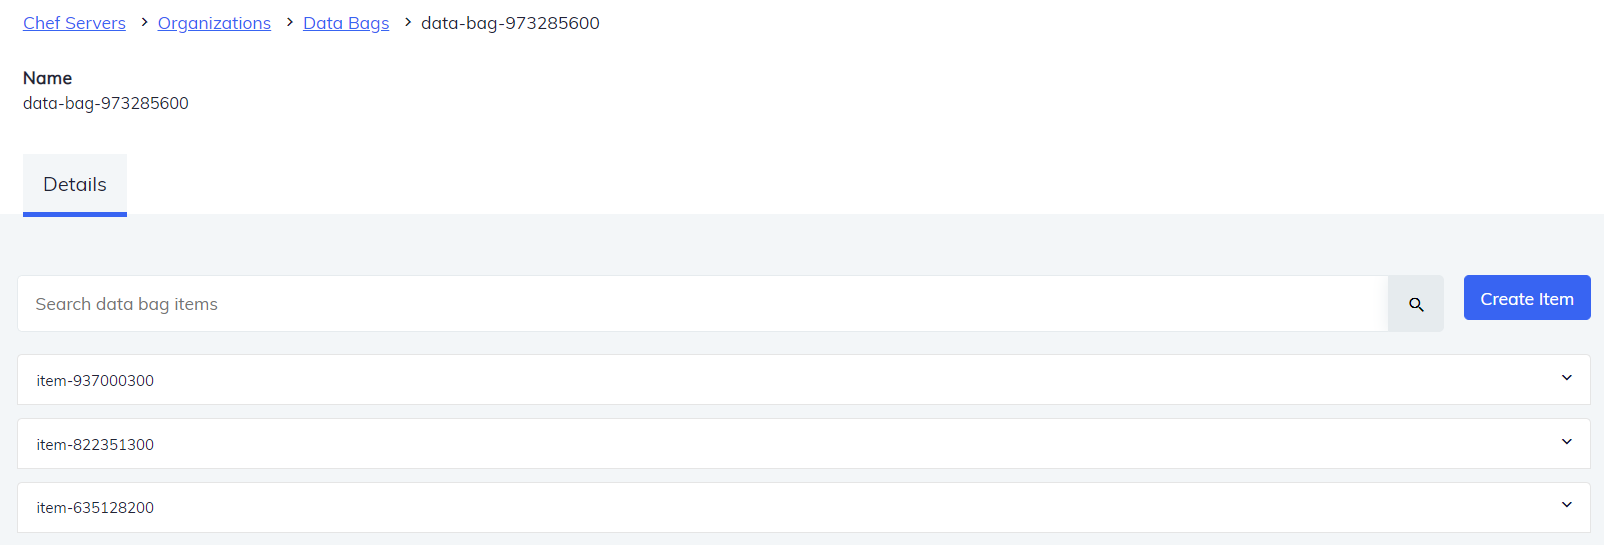
Create a Data Bag Item
To create a data bag item, select the data bag from the list of created data bags and follow the steps given below:
Select Create Item, as shown below:
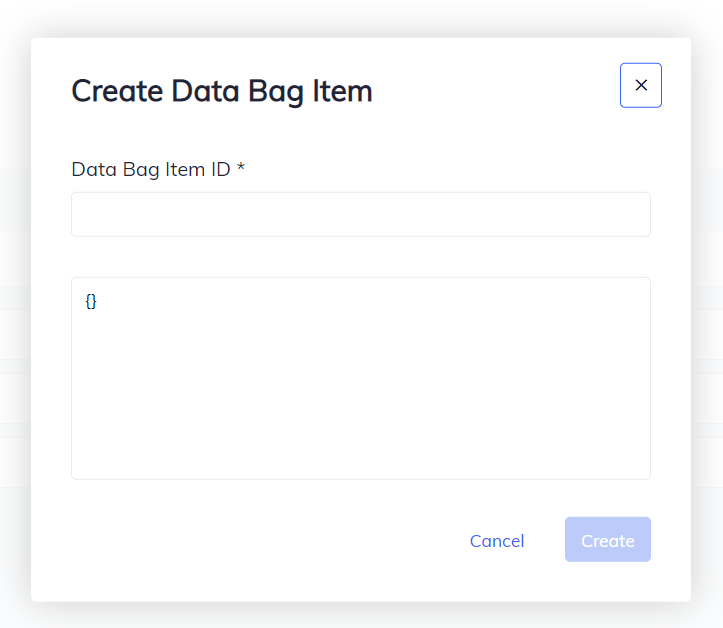
Selecting the Create Item button opens a dialog box. Enter the Data Bag Item ID and the details of the key value pairs of that particular item. Select Create.
Search for an Item
Use the Search data bag items bar to find an item from the list of data bag items. Entering the name of an item in the search bar returns data bag items that match your search criteria.
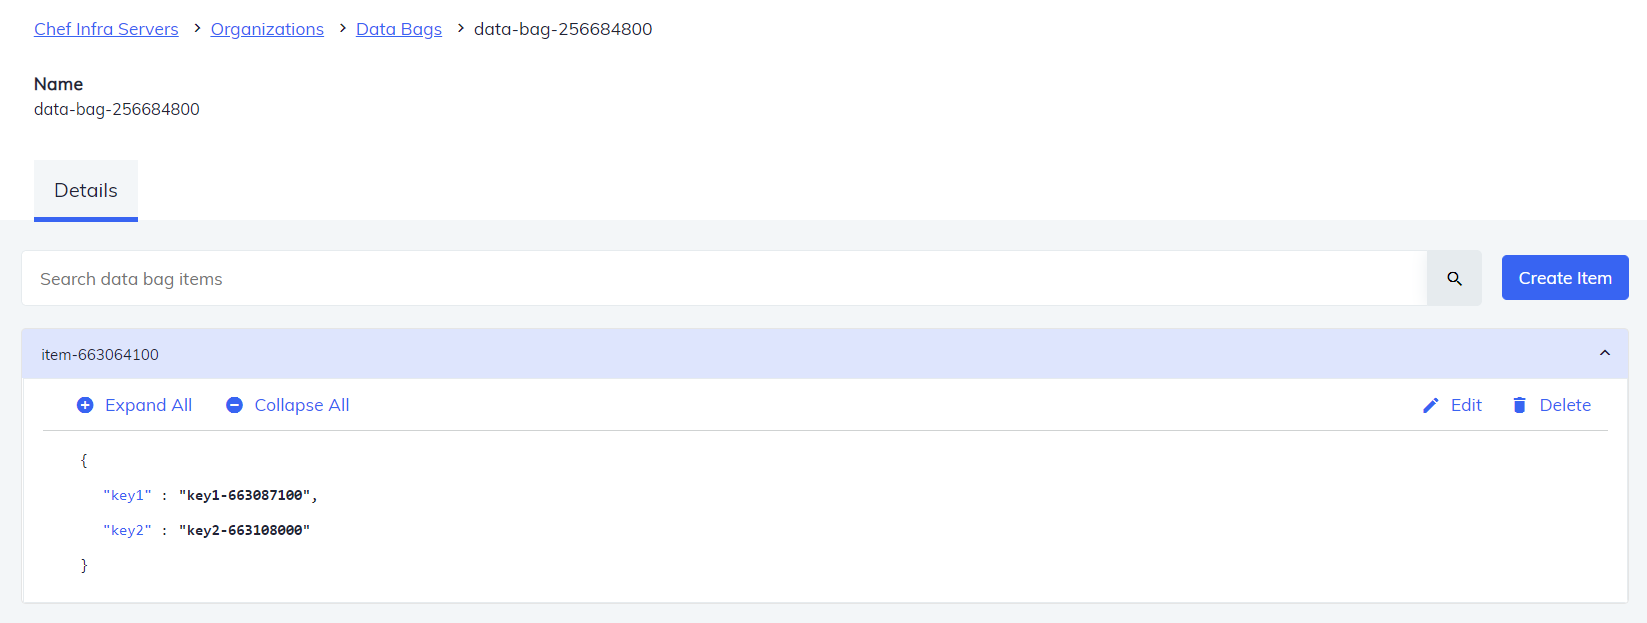
Edit a Data Bag Item
Select a specific data bag item to view the details. The details contain an id, and a couple of key values. Chef Infra Server lets you edit a data bag item.
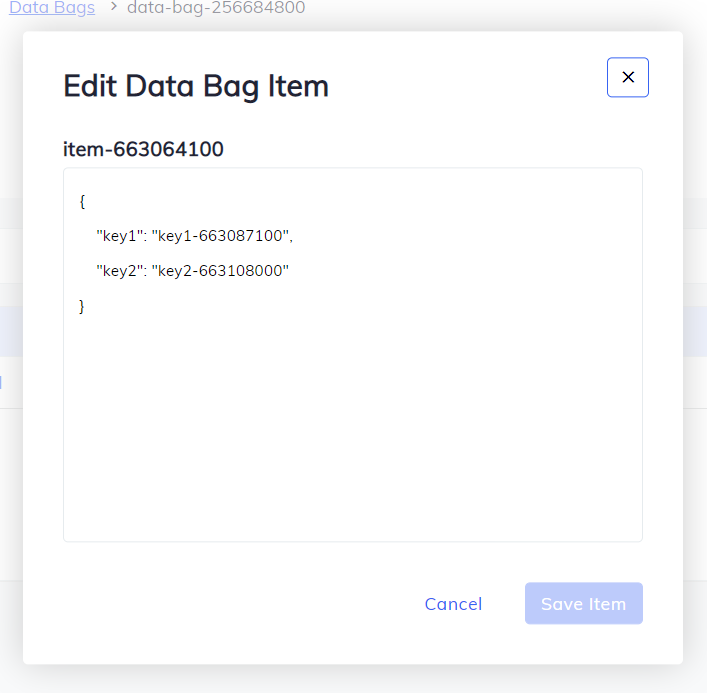
To edit the details of the data bag items, select Edit. In the dialog box, you can edit the details for the specific data bag item. Once done, Select Save Item.
Delete a Data Bag Item
Select a specific data bag item to view the details. The details contain an id, and a couple of key values. Chef Infra Server lets you delete a data bag item.
To delete a data bag item, select Delete. In the dialog box displayed, select Delete to delete the data bag item.
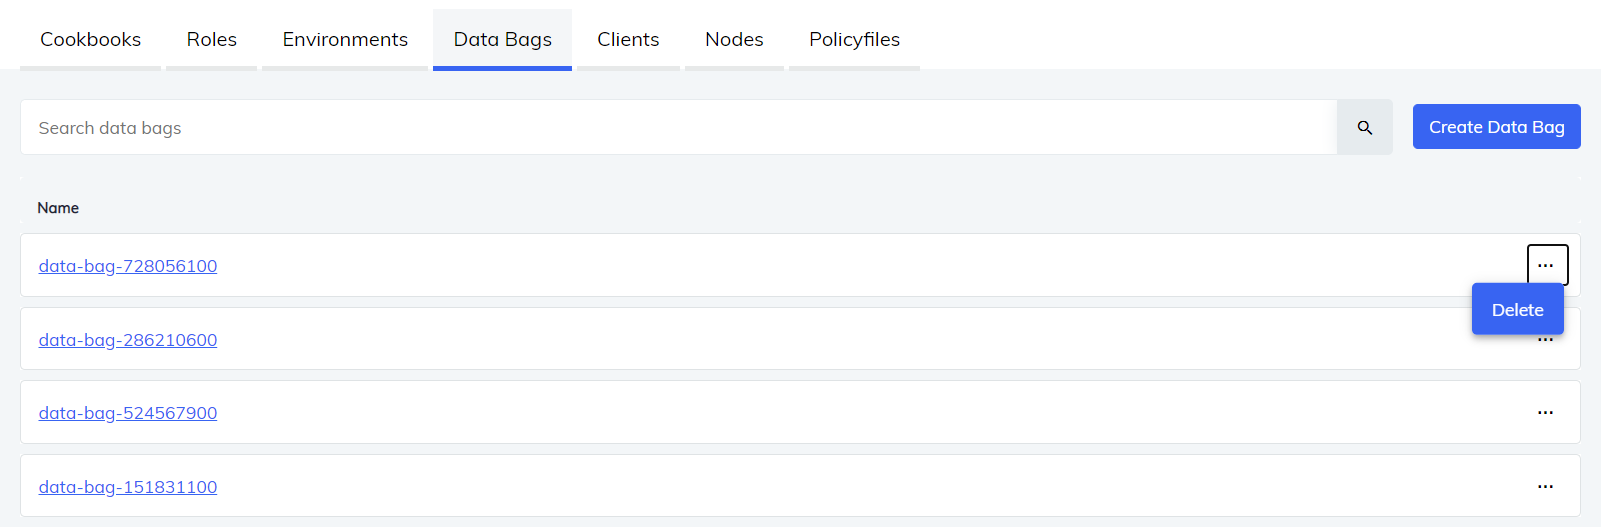
Delete a Data Bag
Chef Infra Server lets you delete the existing data bag one at a time. To delete a data bag, select the ellipses icon and then Delete, as illustrated below:
Clients
Chef Infra Clients provide secure API access to the Chef Infra Server. Chef Infra Server UI lets you:
- Create a client
- View all clients
- Search for a specific client
- Reset a client key
- Delete a client
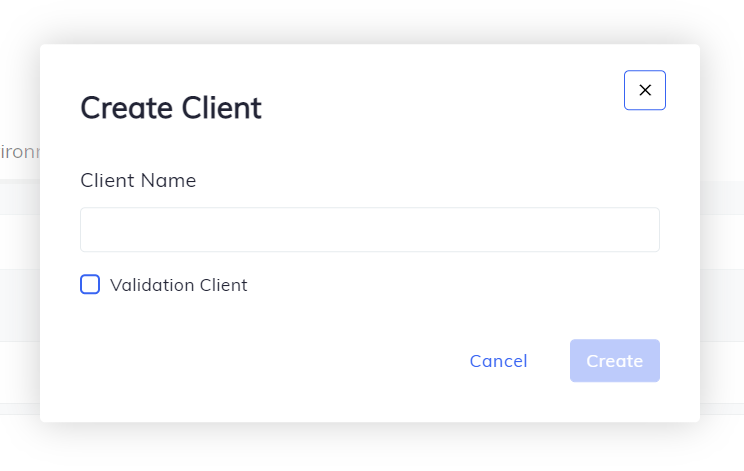
Create a Client
To create a new client, select Create Client.
The Create Client button opens a dialog box. Enter the Client Name and select Validation Client to create a Validation Client. Select Create.
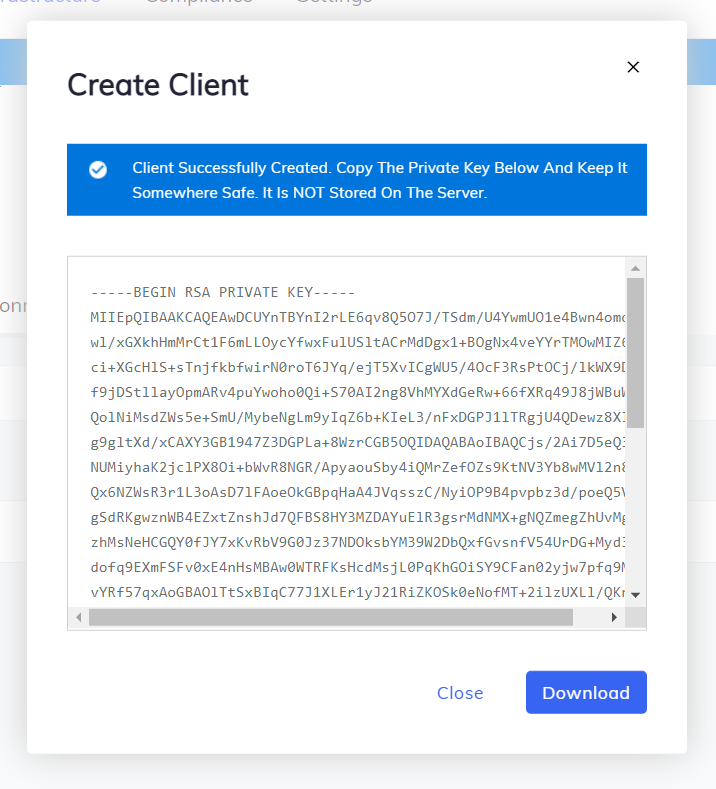
Selecting Create opens a dialog box which contains the Private Key of that particular client. Select Download to download the Private Key.
Search for a Client
Use the Search Clients bar to find an client from the list of clients. Entering the name of a client in the search bar returns clients matching your search criteria.
Public Key of a Client
Select the client to view the Public Key for that client. The Public Key of that client will be displayed in Details.
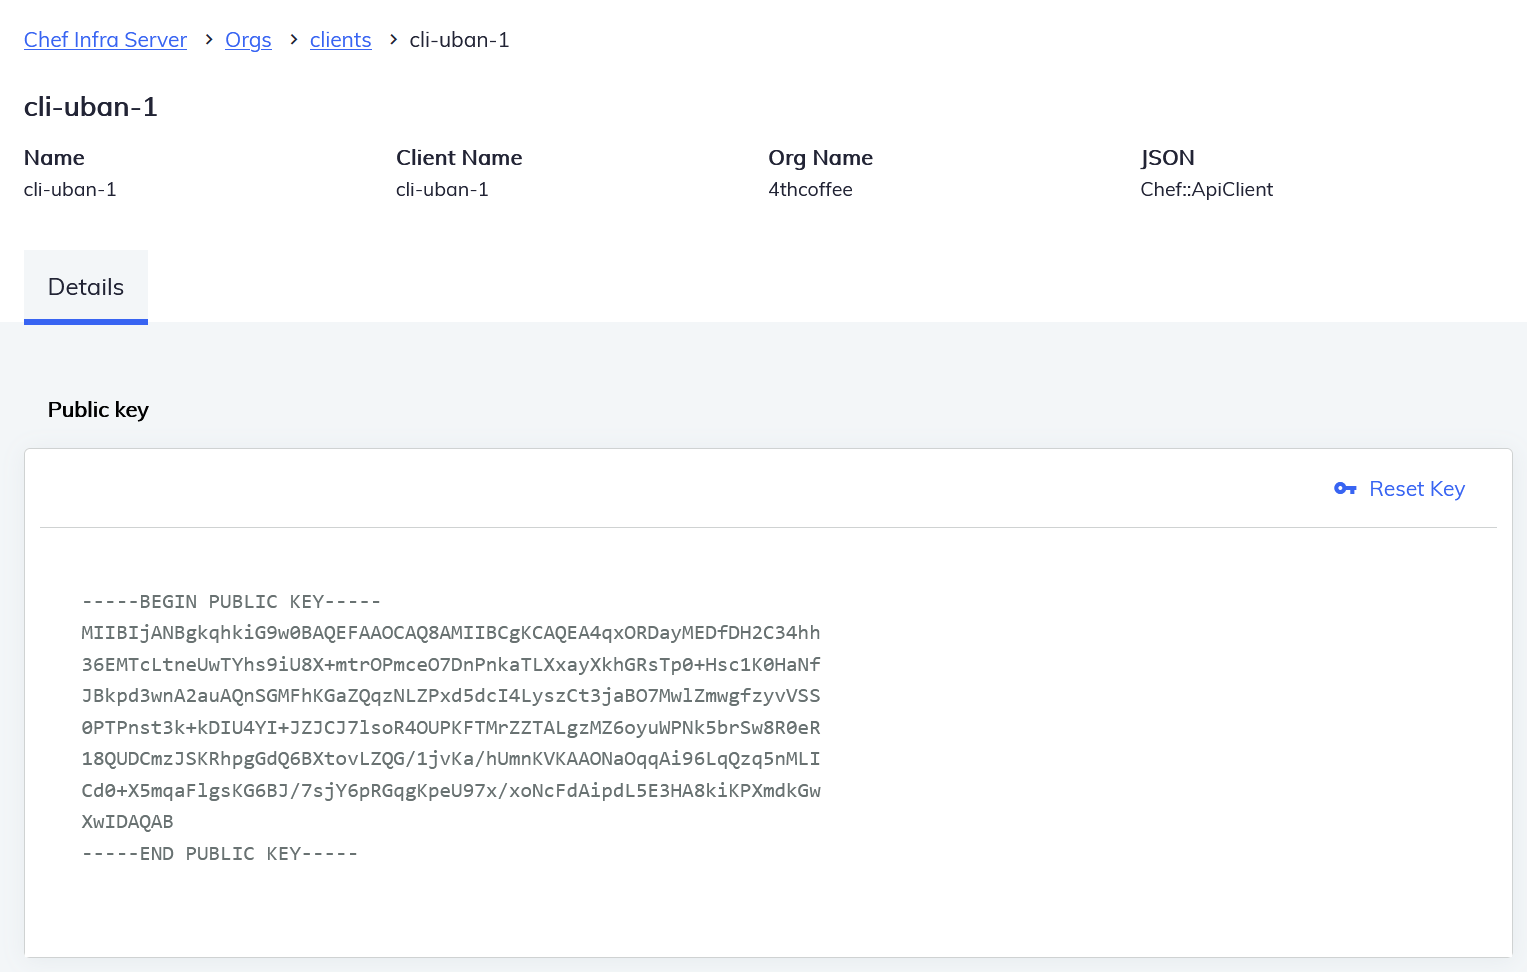
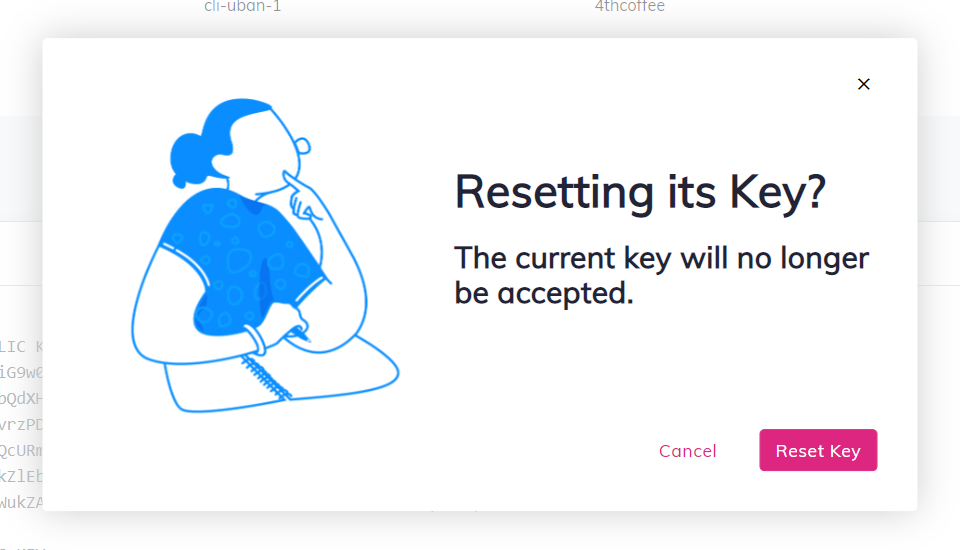
The Chef Infra Server lets you reset the Public Key using the Reset Key option. Selecting the Reset Key option opens an alert stating The current key will no longer be accepted.
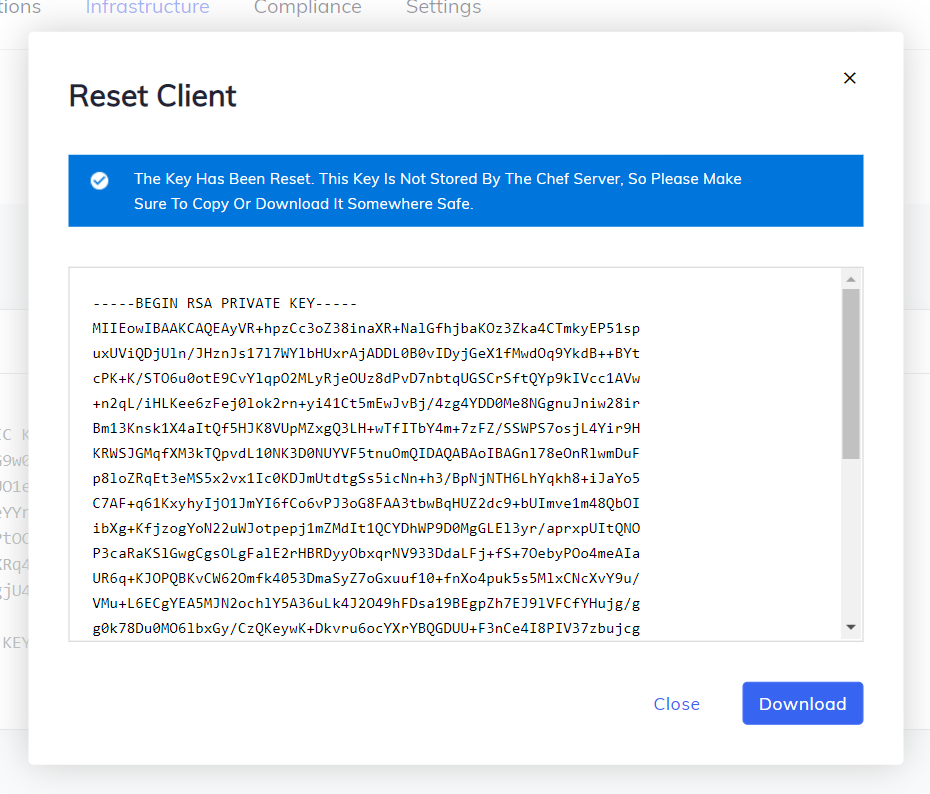
Selecting the Reset Key shown in the above image opens a new dialog box which contains the new Private Key of that client. To download the new Private Key, select Download.
Delete a Client
Chef Infra Server lets you delete the existing clients one at a time. To delete a client, select the ellipses icon and then Delete, as illustrated below:

Nodes
A node is a device that is managed by Chef Infra. During the Chef Infra Client run, the Infra Client retrieves attributes that defines the expected state of the node and a run-list that defines how a node will be configured to that state from the Infra Server. The Infra Client then uses that information to update the node to its expected state.
The Chef Infra Server integration lets you:
- Search for a specific node
- View all nodes
- Details of a node
- Edit Run list
- Edit Attributes
- Manage tags
- Reset a node key
- Delete a node
Search for a Node
Use the search bar on the Nodes tab (Chef Infra Servers > Nodes) to find a node from the list of nodes. Entering the name of a node in the search bar returns nodes matching your search criteria.
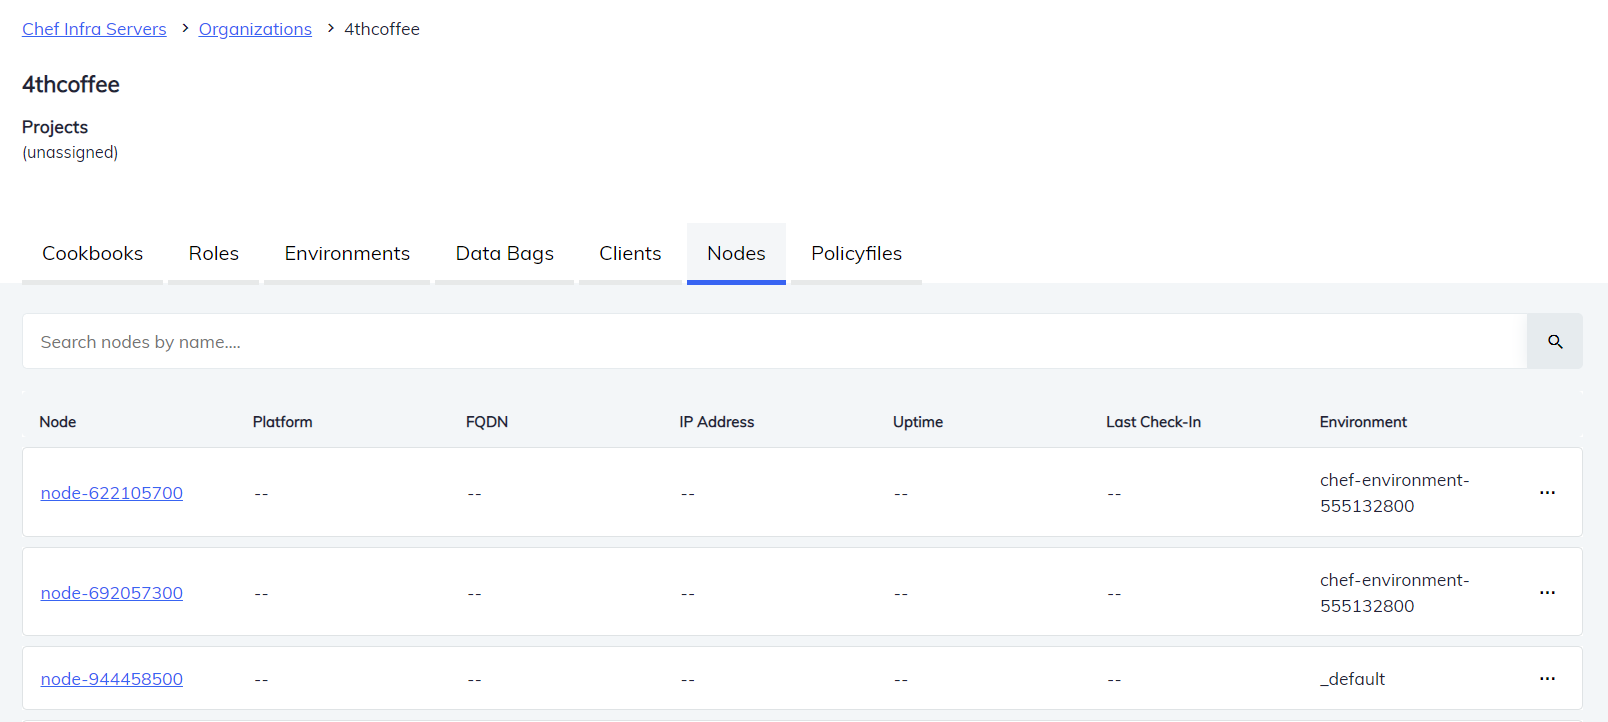
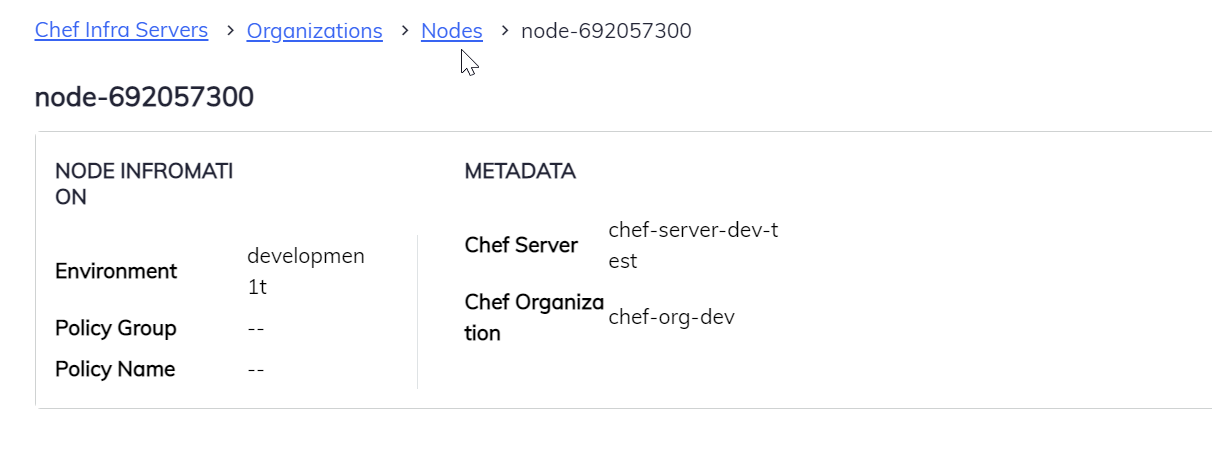
Details of a Node
Select a specific node to view the node information, metadata and details of the environment of the node. The first section of the page has the Node Information like Environment, Policy Group and Policy Name. You can also view the Metadata for the node which contains the name of the Chef Server, and name of the Chef Organization.
The above information looks like as shown below:
The next section of the page contains two options:
- Details
- Run List
- Attributes
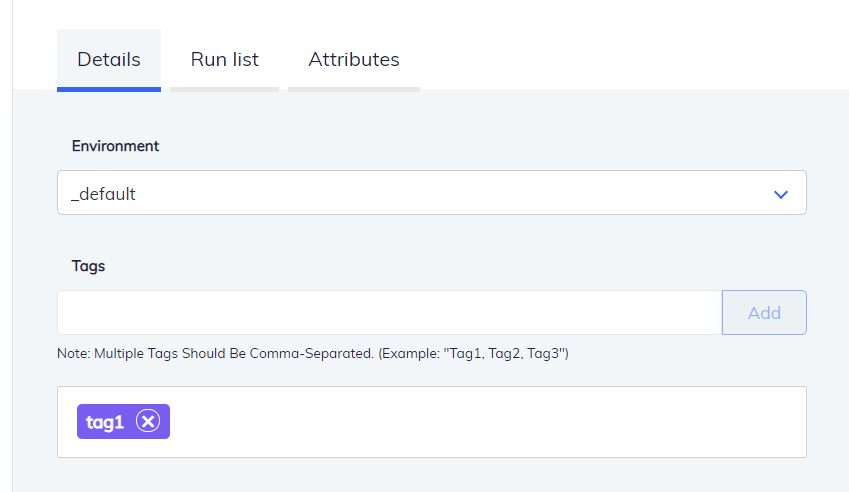
Details
The Details section lets you view and update the node environment. The drop-down menu consists of the list of environments created in the chef server. You can select any one environment for the selected node.
To select the environment:
Click on the dropdown menu and select the name of the environment.
You can add tags to the environment from the text bar below the dropdown menu. Note: To add multiple tags at a time, use comma separator. Example: Tag1, Tag2, Tag3.
Selecting an environment will open a popup to save the node environment. Select Save to change the node environment.
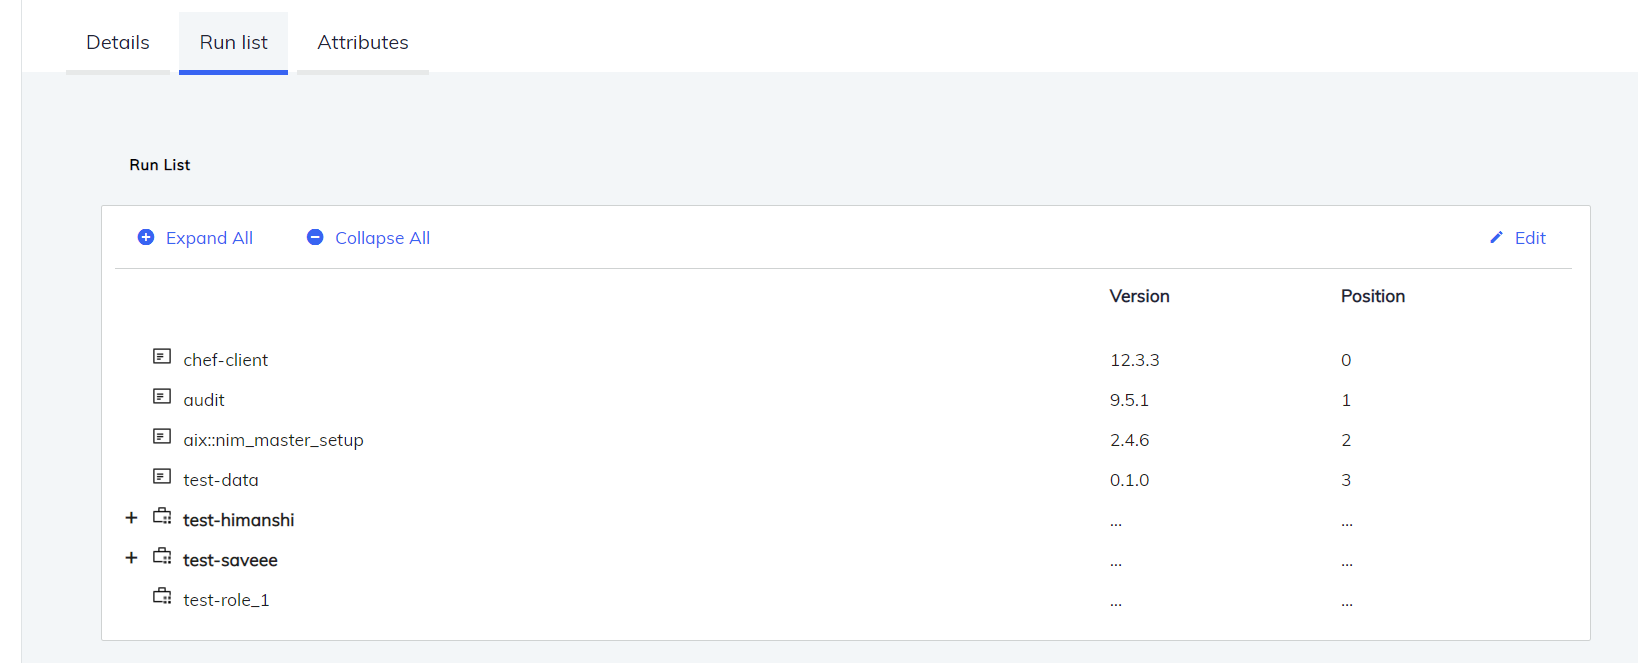
Run List
You can edit, expand or collapse a node’s run list.
Edit a run list by:
Select edit. A popup window opens.
The left side of the window contains the list of environments. Select an environment from the list.
The right side of the window will show the run list for the selected environment.
Select the run list for a specific environment.
Select Create.
This opens a pop-up window similar to:
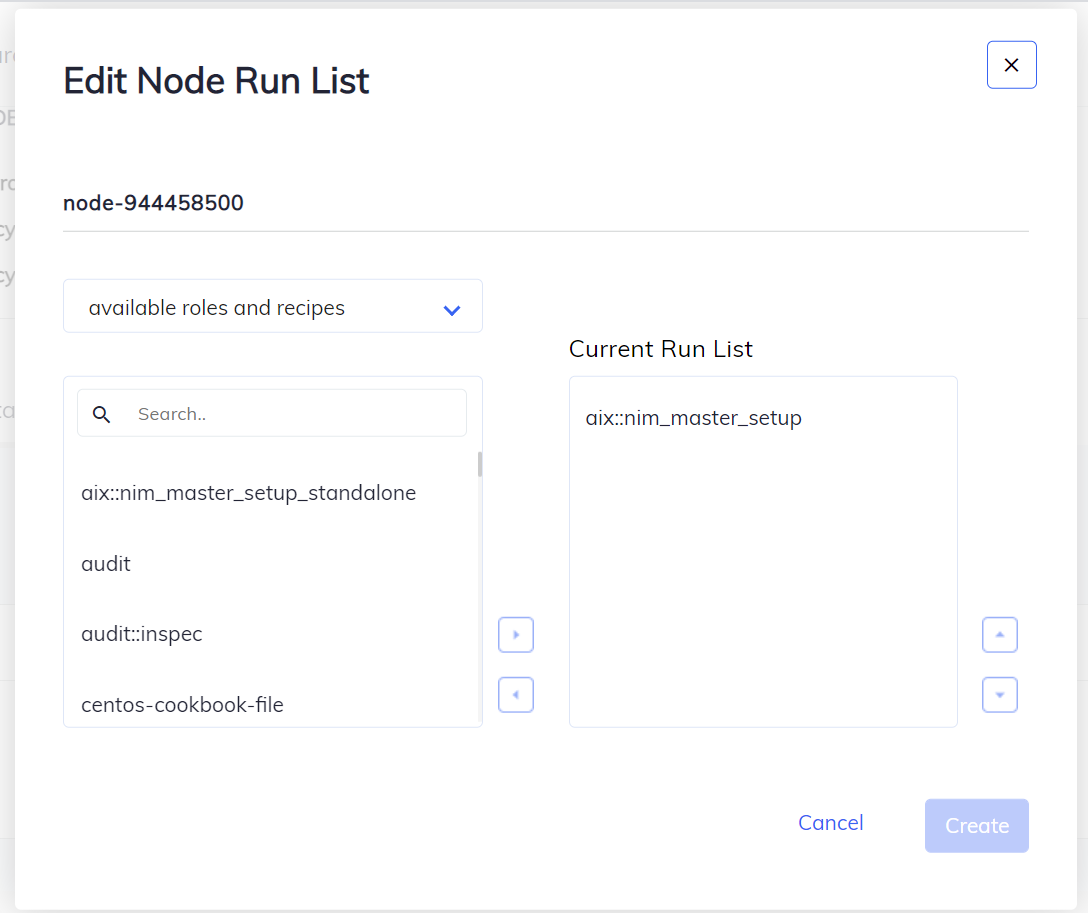
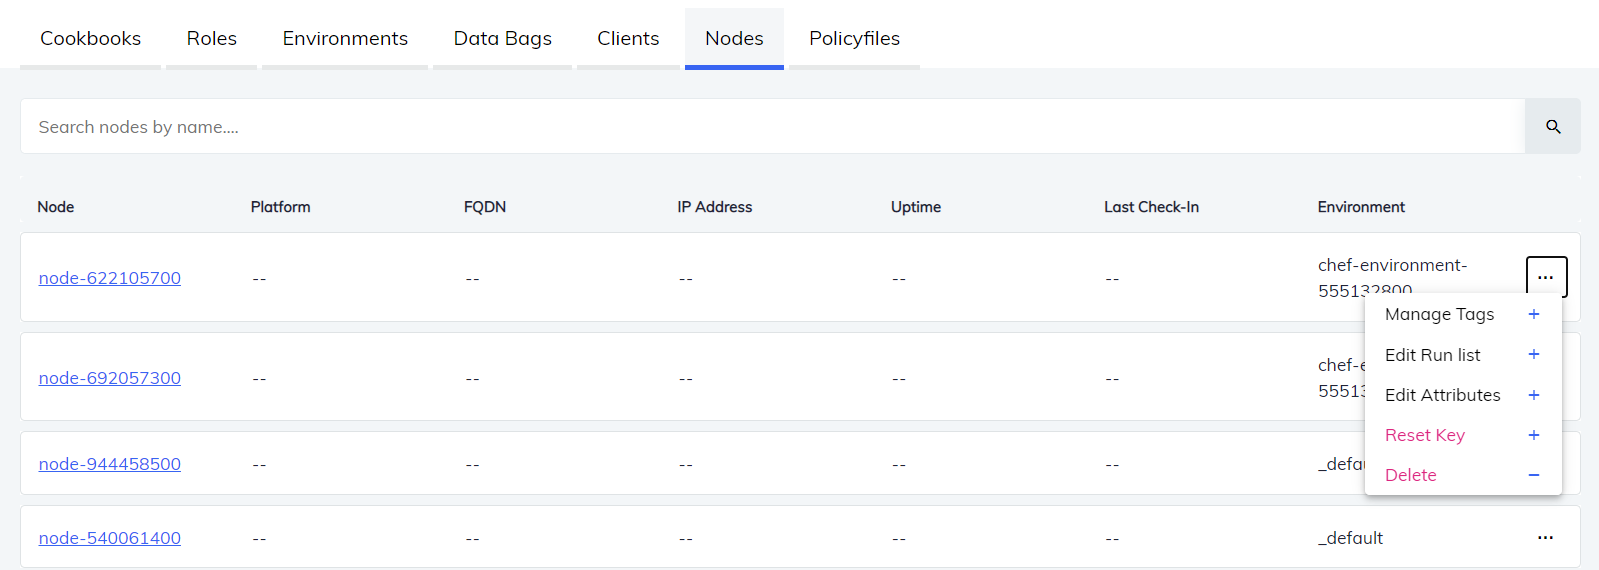
You can find the editing window directly by selecting the ellipses icon and then Edit Run List of a specific node in the node list. Selecting the option opens a pop-up for editing the run list.
Attributes
The attributes window shows all the default and overridden attributes. Select Expand All or Collapse All to view or hide the attributes. Select Edit to change or update the existing attributes.
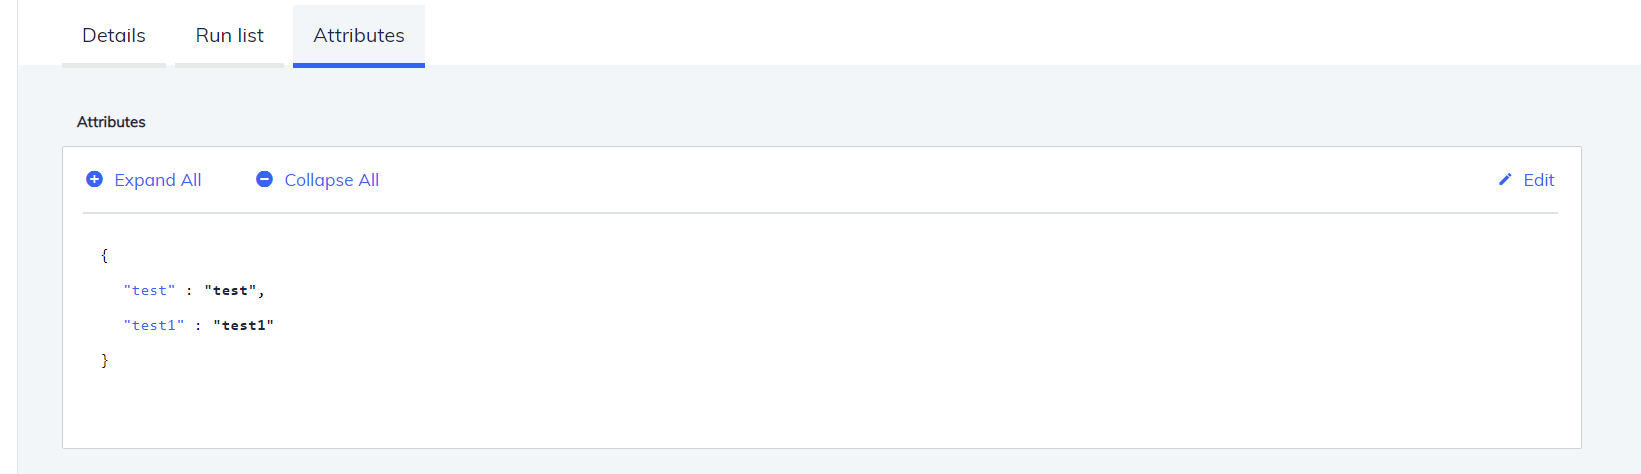
You can find the editing window directly by selecting the ellipses icon and then Edit Attributes of a specific node in the node list. Selecting the option opens a pop-up for editing the attributes.
Manage Tags
Chef Infra allows you to manage tags of the environment. You can add or remove multiple tags in two ways:
Selecting the node and add the tags from the text bar below the dropdown menu of environments.
Select the ellipses icon and then Manage Tags for a specific node. Add and remove tags in tag editor and select Update Tags to save your changes.
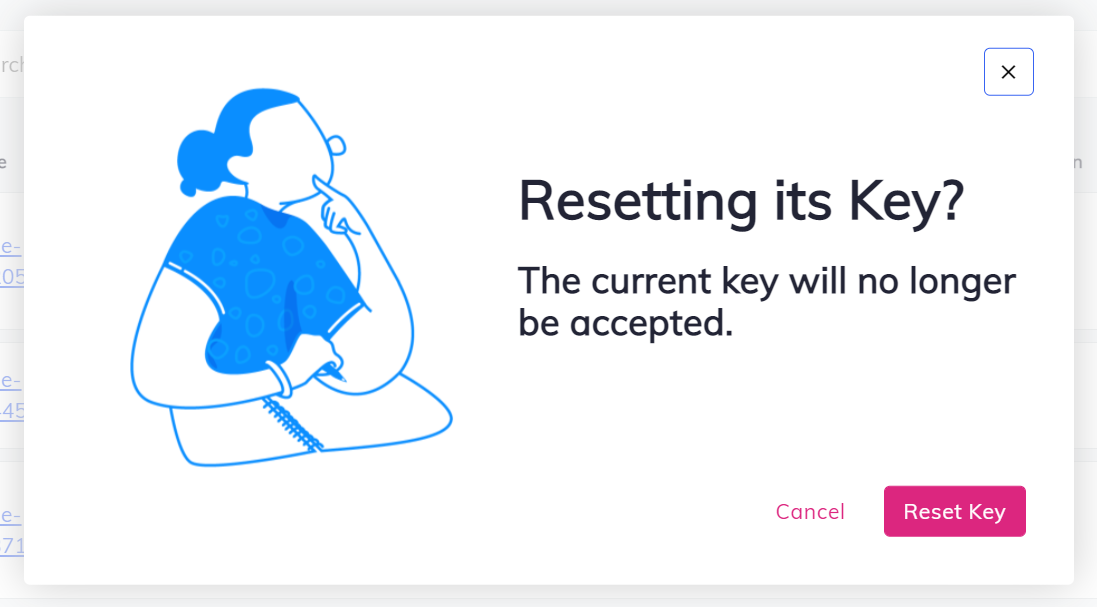
Reset a Client Key
Reset a client key by selecting the ellipses icon and then Reset Key of a specific node in the node list. Selecting Reset Key opens a warning that the current key will no longer be accepted. Select Reset Key once again to confirm.
Delete a Node
Delete individual existing nodes by selecting the ellipses icon and then Delete:
Policyfiles
Policyfiles are preferred way of managing roles, environments, and community cookbooks data with a single document that is uploaded to the Chef Infra Server. Policyfiles lets you test and promote code with simpler interface.
The Chef Infra Server integration lets you:
- Search for a specific Policyfiles
- View all the Policyfiles
- View the details of Policyfiles:
- Content
- Attributes
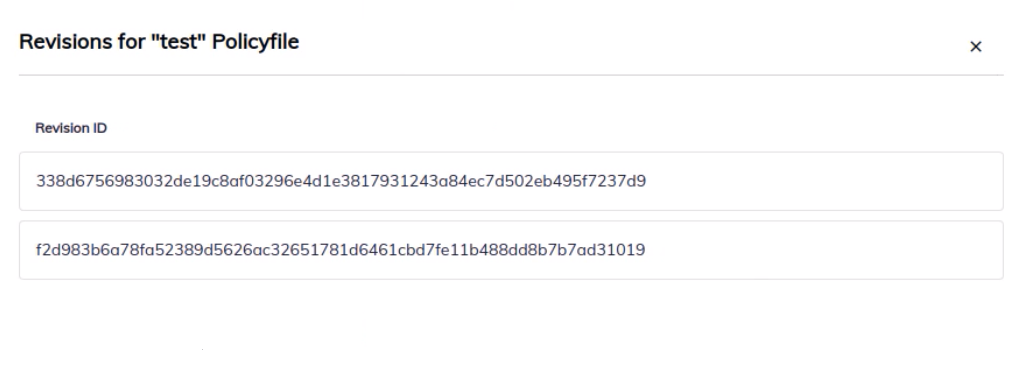
- Revision ID
- Delete Policyfiles
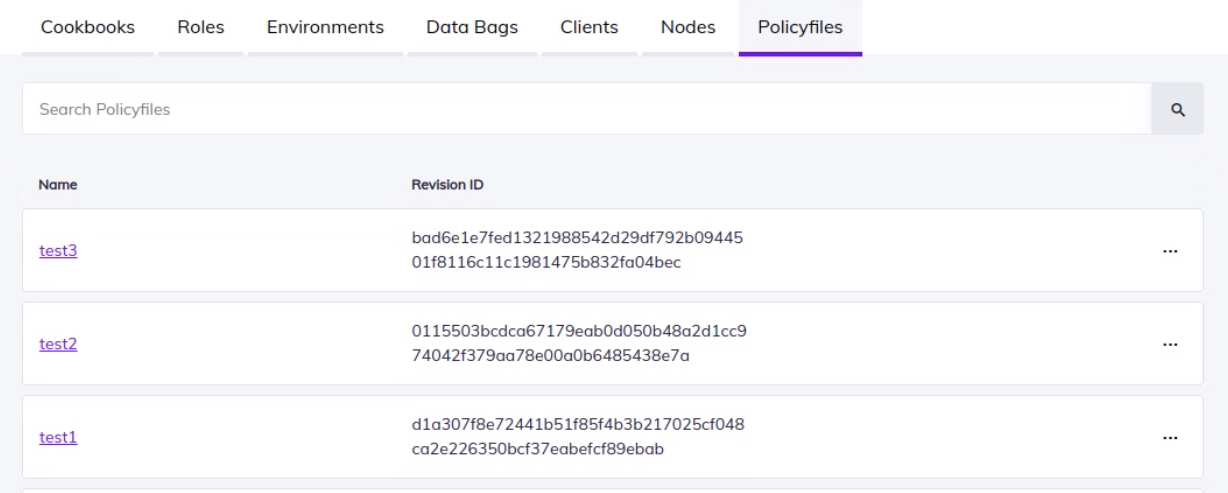
Search for Policyfiles
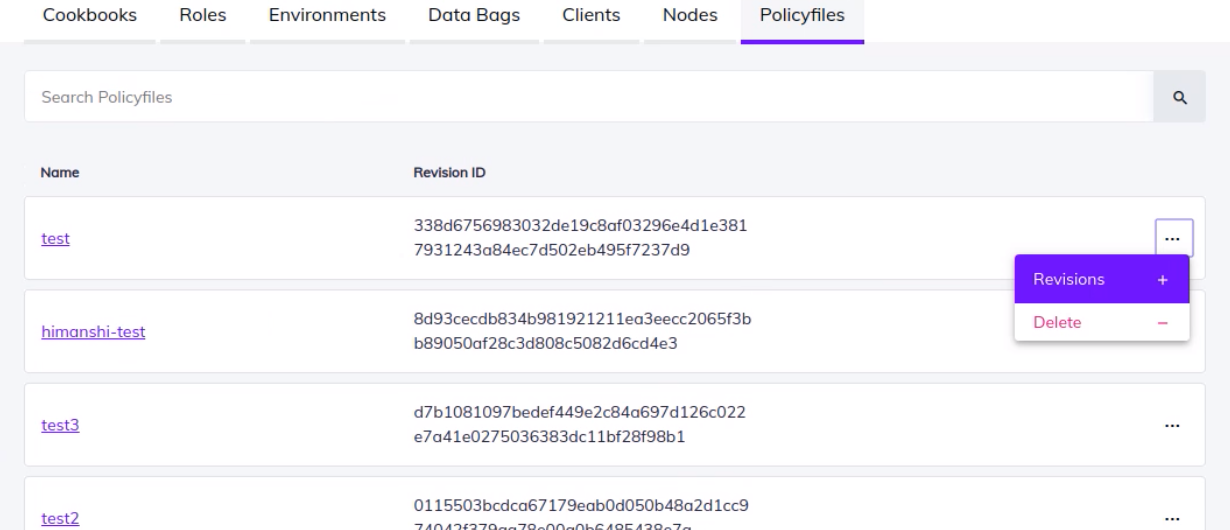
Use the search bar on the Policyfile tab (Chef Infra Server > Policyfile) to find a policy file from the list. Enter the name of a policy file in the search bar to view matching Policyfiles.
Details of Policyfiles
Select a Policyfile to view the METADATA, Content, Attributes, and Revision ID of that Policyfile.
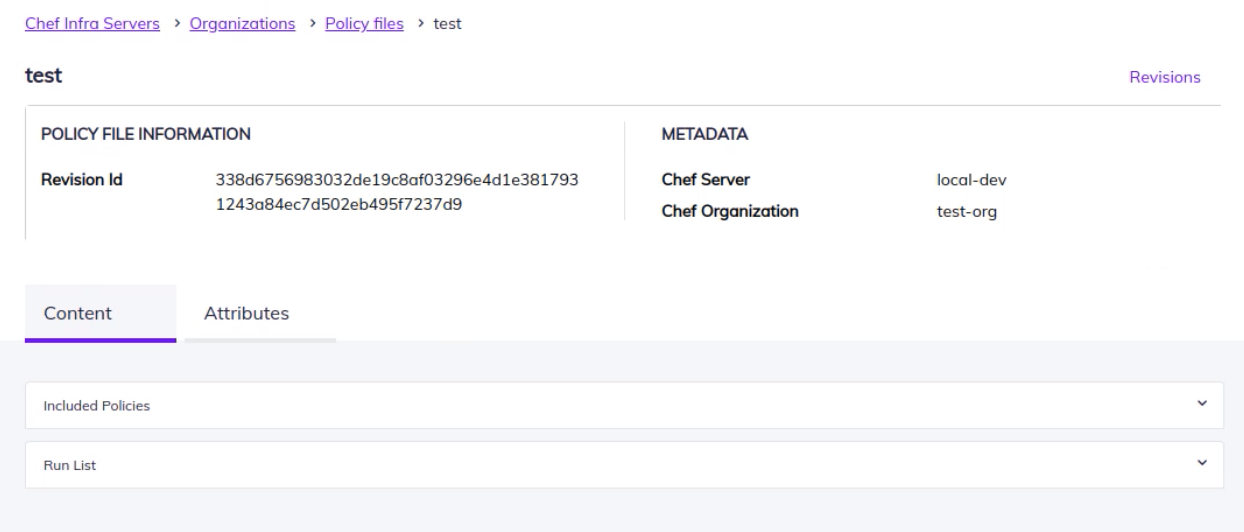
The Content tab contains the list of all the included policies and run lists, whereas the Attributes tab displays the default and the override attributes of a Policyfile.
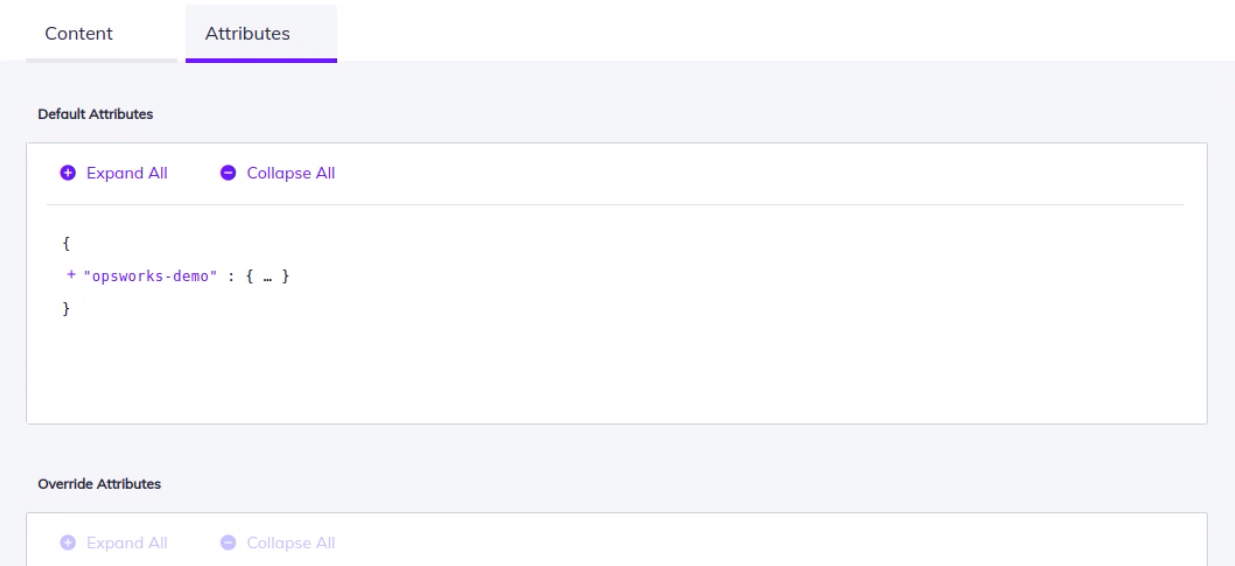
You can Expand and Collapse the default and override attributes by selecting the option.
Note
Delete Policyfiles
Delete individual Policyfiles by selecting the ellipses icon and then Delete:
Troubleshoot
While fetching any objects like cookbooks, you might face an error Could not get cookbooks: organization 'no-org' does not exist, which means the provided organization does not exist on Chef Infra Server.

Create the organization using the knife command, knife opc org create or the Chef Infra Server CLI command, chef-server-ctl org-create, then add the Name, Projects, Admin User, and Admin Key to fetch the objects.
Was this page helpful?